Selectors
This page shows you how to create, assign, and manage CSS selectors in Unblock.
What are selectors
Selectors are reusable styles you can assign to any block. A selector named .btn applies the same look everywhere it's used — change it once, it updates everywhere.
Any valid CSS selector works — classes, IDs, complex selectors, pseudo-classes.
Selectors are tokenized — renaming a selector updates it across your entire site automatically.
Creating and assigning selectors
You can create, assign, rename, and delete selectors directly from the Styles panel or the CSS inspector — no need to open the Selectors panel.
From the Styles panel
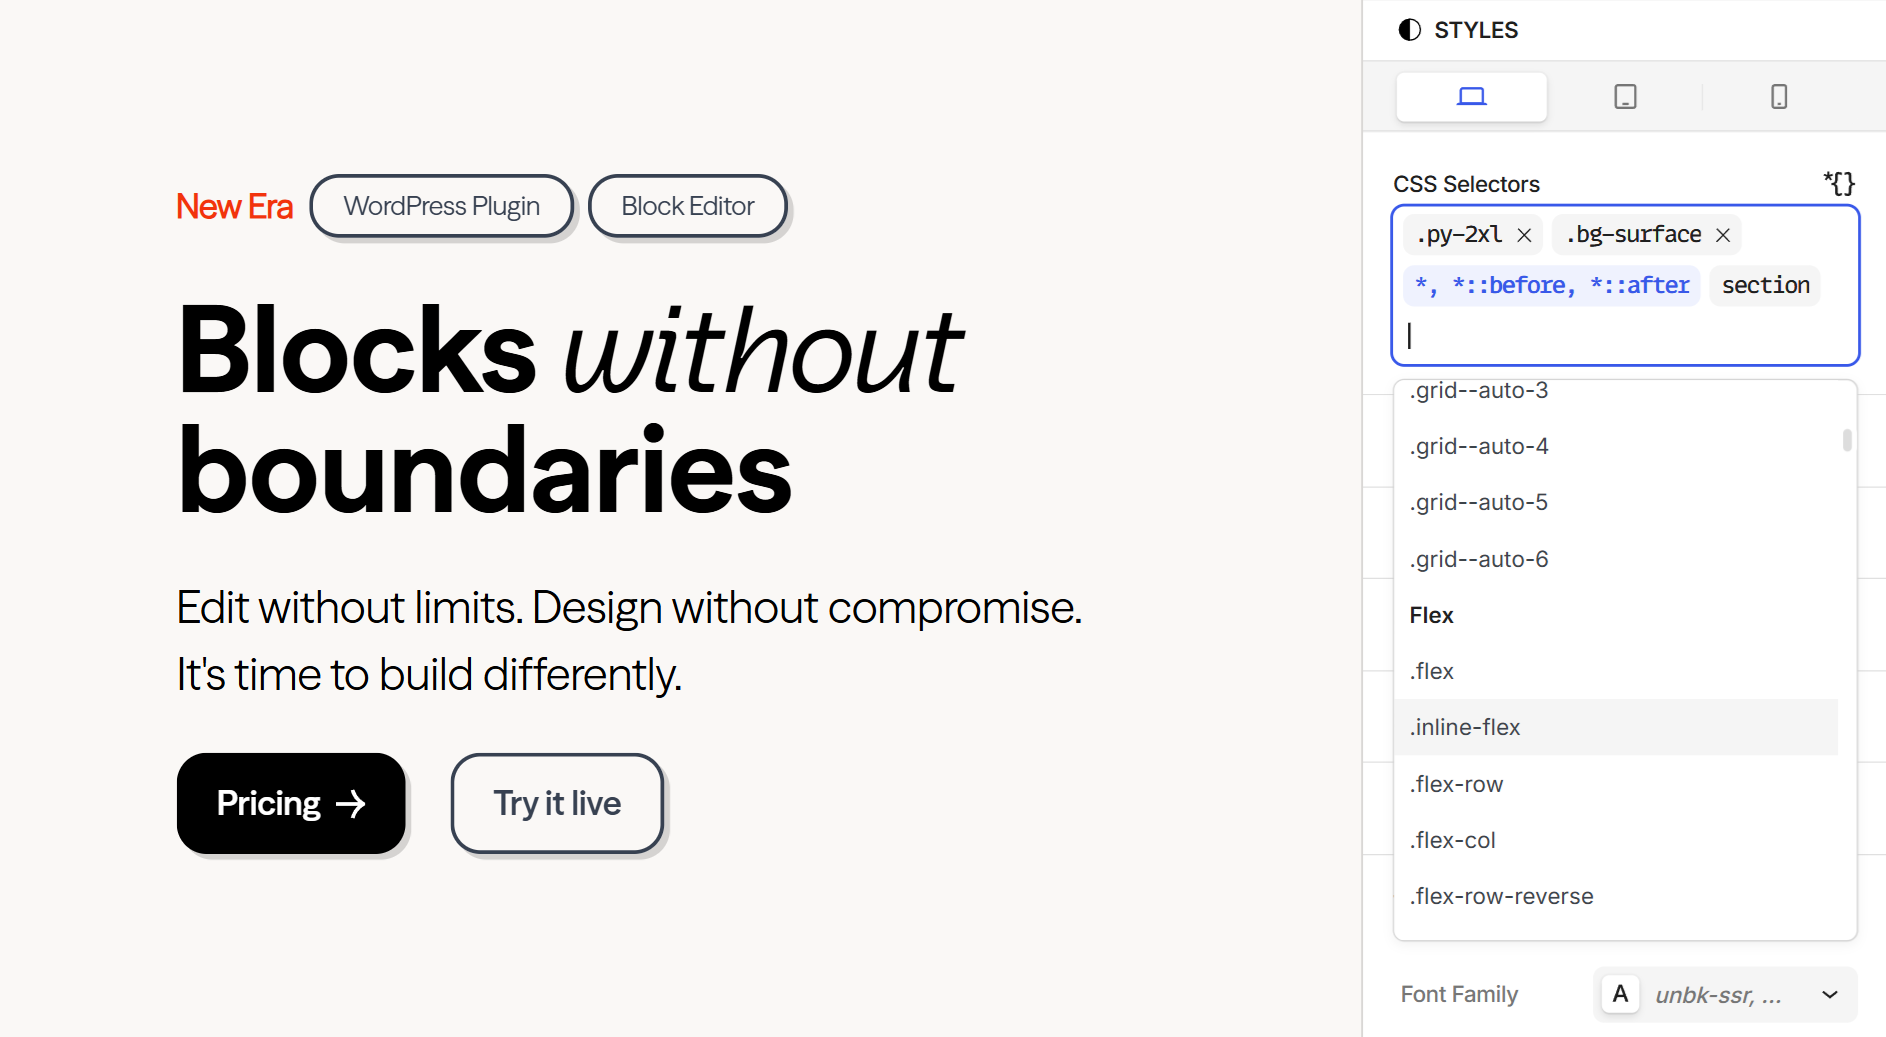
Select a block, then in the right sidebar under CSS Selectors, type a name to create a new selector or search for an existing one. Assigned selectors appear as tags you can remove with x.
Selectors without an x — like *, *::before, *::after — are not directly attached to the block (they target it through CSS matching). These can only be deleted from the Selectors panel.
From the CSS inspector
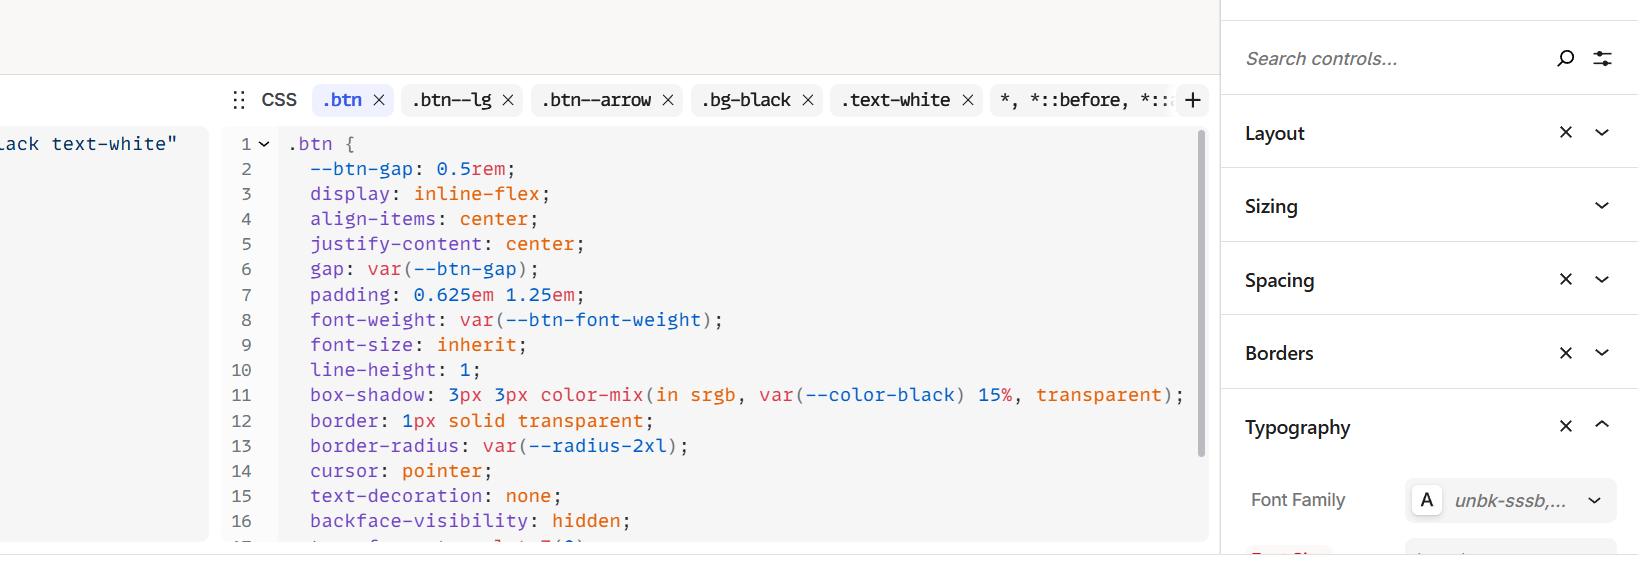
The CSS tab in the bottom panel shows selectors assigned to and matching the current block. Click + to add a new one. Click a selector tab to view and edit its CSS.
The CSS inspector and the Styles panel are two-way synced. Edit a property in one place and it updates in the other in real time. Use whichever you prefer — the Styles panel for visual editing, or the CSS inspector if you're comfortable with code.
The Selectors panel
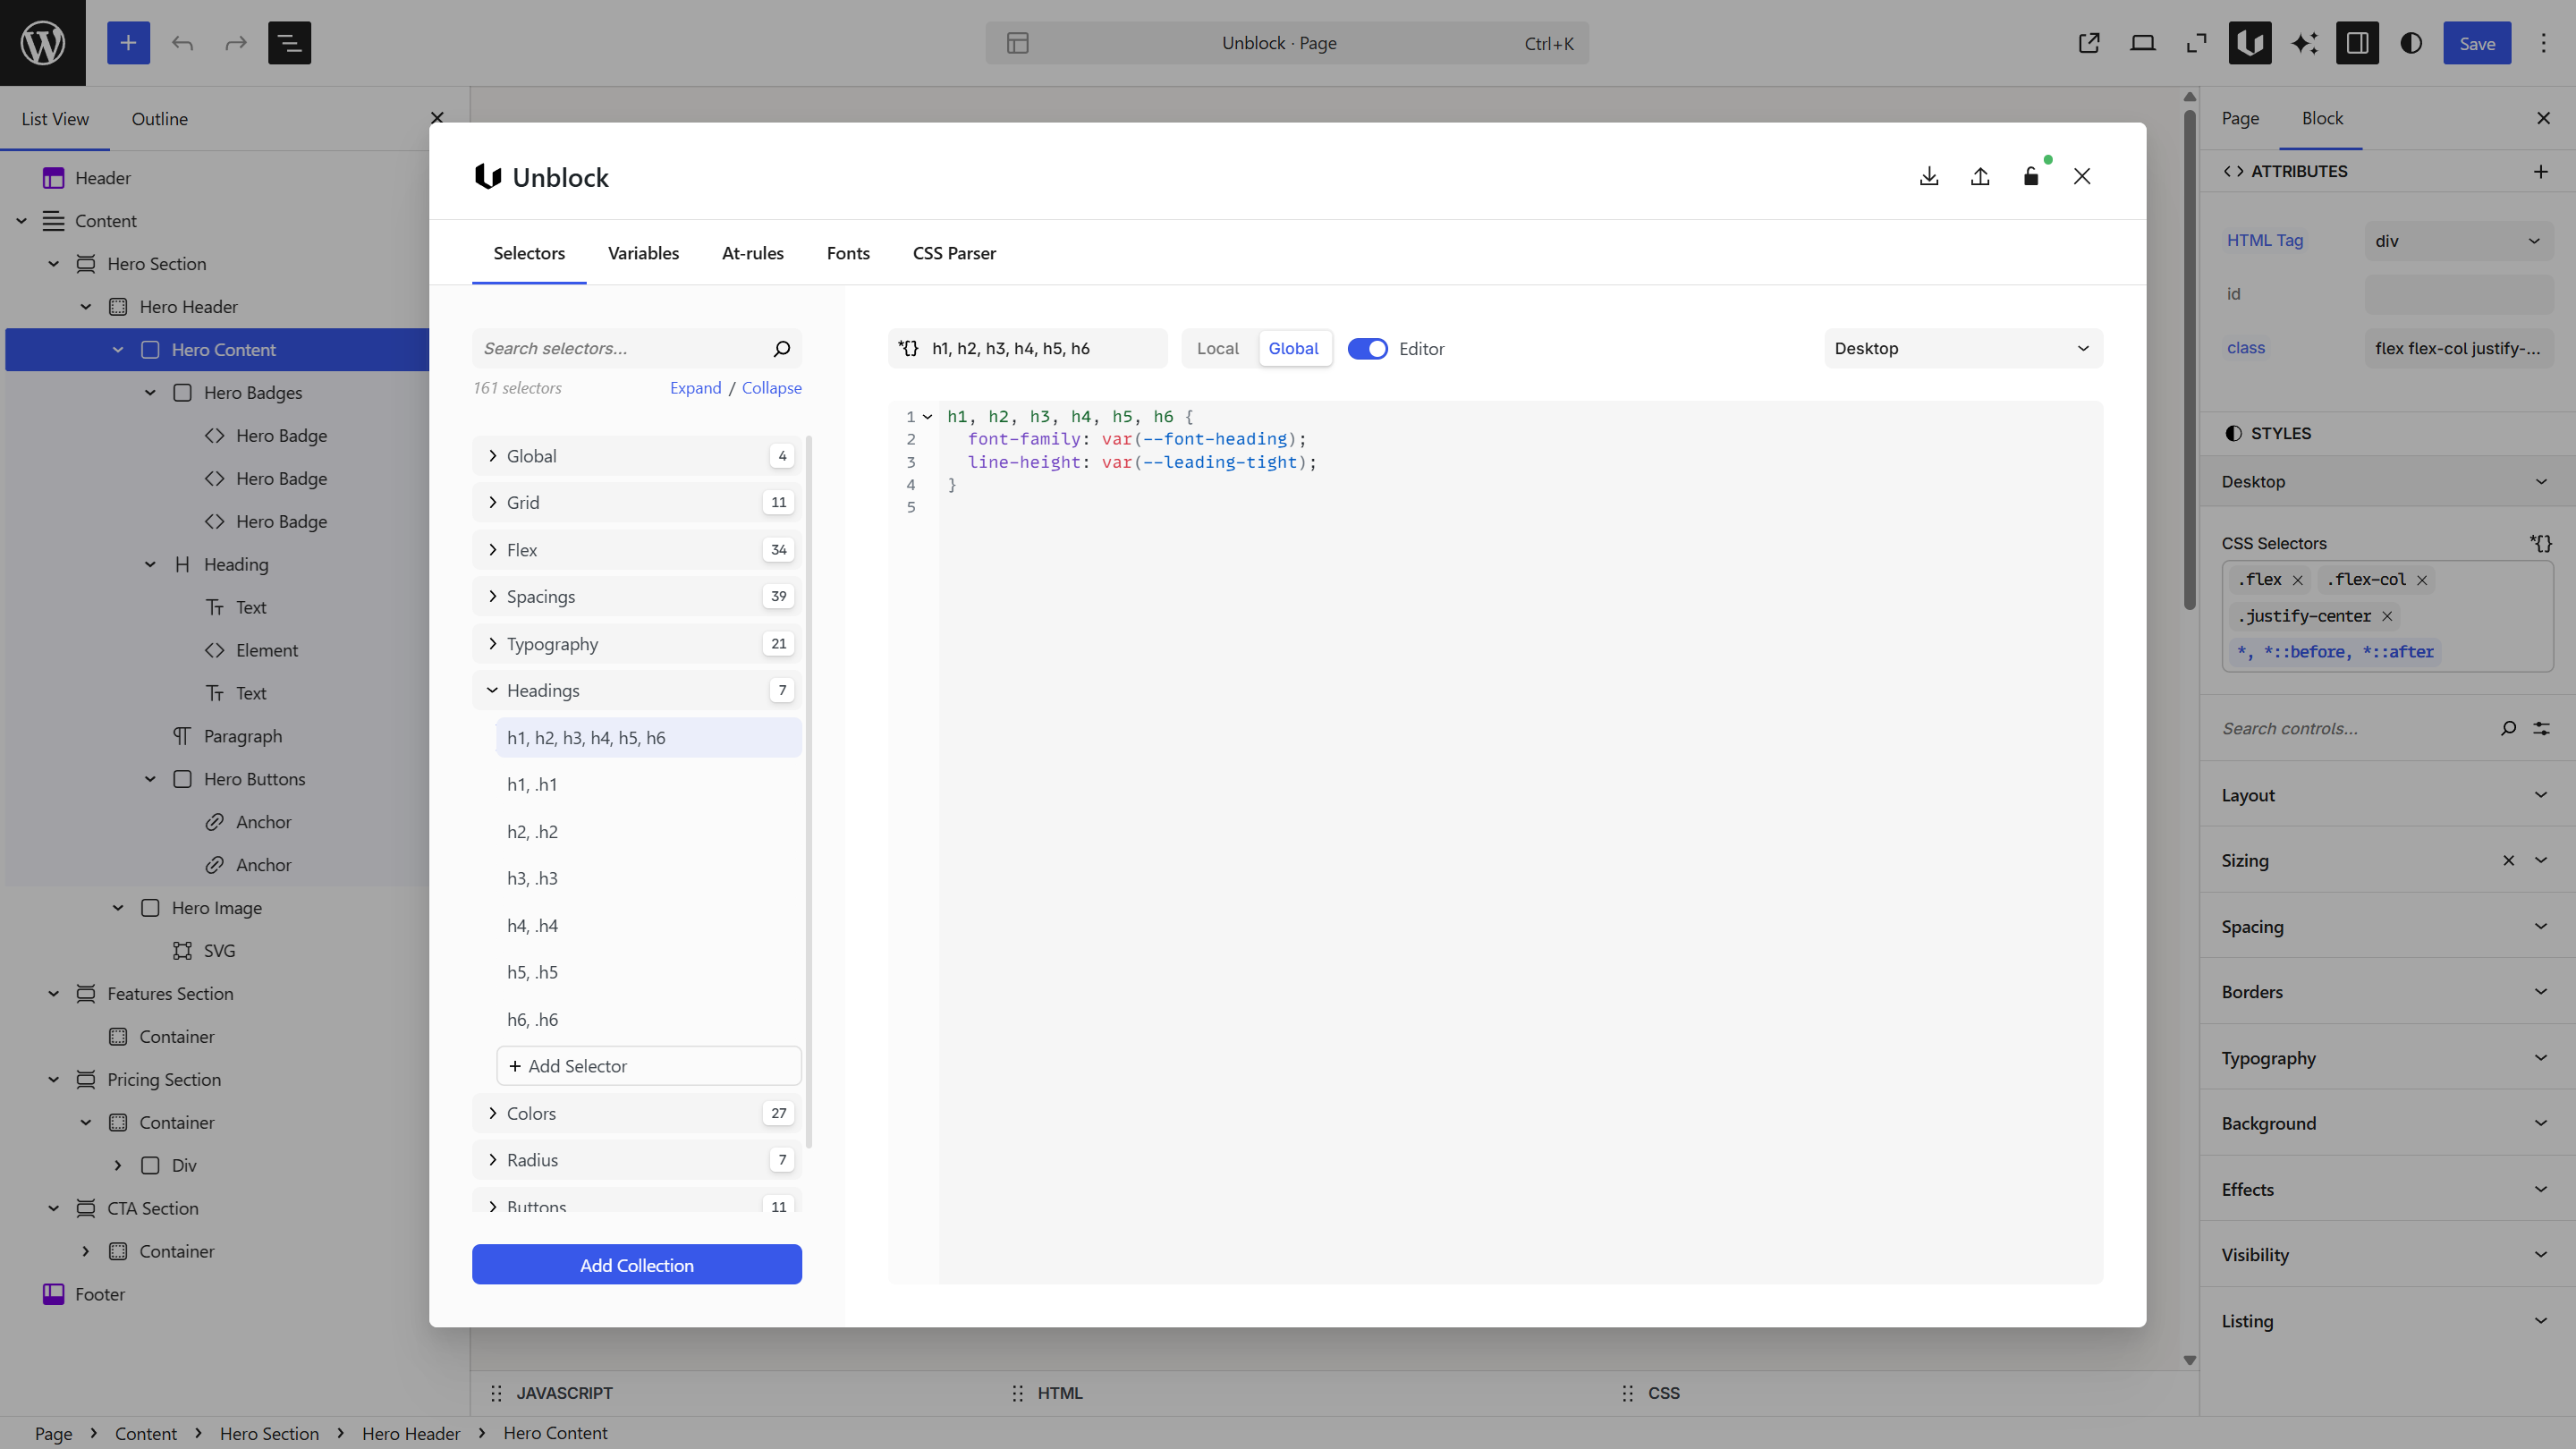
For organizing selectors at scale, open the Unblock modal and switch to the Selectors panel.
Order matters in CSS — selectors defined later can override earlier ones (the cascade). The Selectors panel lets you reorder selectors and collections by dragging them.
Collections
Selectors are organized into collections. Click a collection name to expand it and see its selectors.
You start with no collections — create your own to organize your selectors. For example: Grid, Flex, Spacings, Typography, Headings, Colors, Buttons.
Use Expand / Collapse buttons at the top to open or close all collections at once.
Create a collection
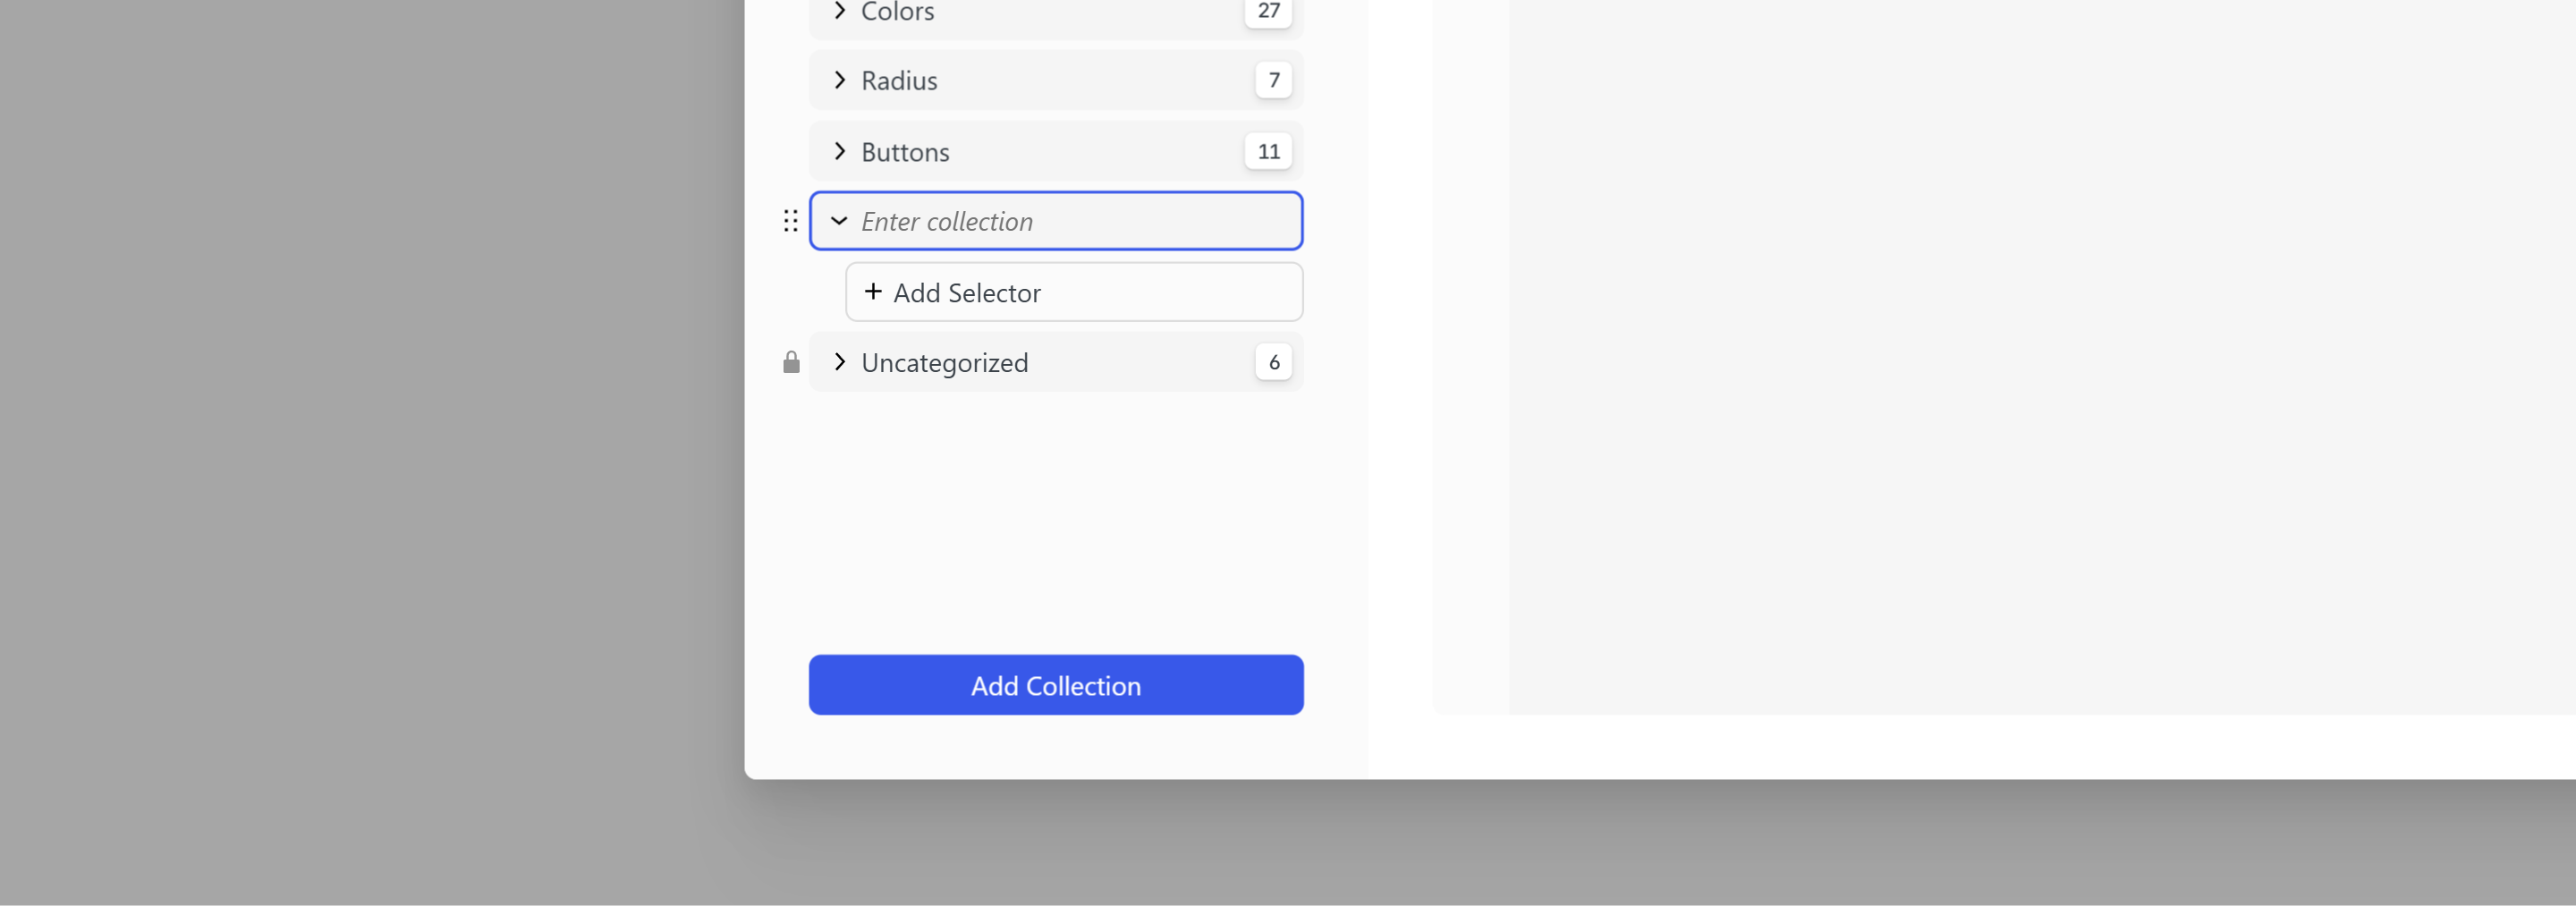
Click Add Collection at the bottom of the sidebar. Type a name for your collection and press Enter to confirm.
Add a selector to a collection
Inside an expanded collection, click + Add Selector at the bottom of the list. Type the selector name and press Enter to confirm.
You can rename a selector or collection at any time — either from the sidebar or from the toolbar.
The toolbar
The toolbar above the code editor controls scope, rendering, and at-rule context for the current selector.

Local / Global — Local applies the selector to the current page only. Global applies it site-wide. Unblock automatically sets Global for common selectors like body. Prefer Local to only load what's necessary on each page — use Global for styles that truly need to be available everywhere.
Editor toggle — Controls whether the selector CSS is rendered inside the block editor. Disable it for selectors that interfere with editing — for example, a scroll-reveal animation class that hides the block until triggered by scrolling.
At-rule selector — The icons on the right switch the editor context to write styles inside an at-rule. Selecting one wraps your CSS in the corresponding rule — for example:
@media (...) {
  .selector { ... }
}
This lets you add styles for specific breakpoints, containers, or any at-rule defined in the At-Rules panel. The Styles panel works the same way.
Writing CSS
The selector name and its wrapping brackets are always visible at the start and end of the editor — you write your CSS properties inside them.
For a selector named .btn, the editor shows:
.btn {
  display: inline-flex;
  align-items: center;
  padding: 0.625em 1.25em;
  font-weight: var(--btn-font-weight);
  border-radius: var(--radius-2xl);
  cursor: pointer;
}
The selector and brackets are managed by Unblock — you can't delete them.
Nested selectors
You can nest selectors using the & syntax for pseudo-classes, child elements, and other compound selectors:
.btn {
  background: var(--color-primary);
  color: var(--color-white);

  &:hover {
    background: var(--color-primary-hover);
    transform: translateY(-1px);
  }

  &:focus {
    outline: 2px solid var(--color-primary);
    outline-offset: 2px;
  }
}
If you try to create a selector that already exists, Unblock shows a notice — duplicate selectors are not allowed.
Next steps
- Variables — create design tokens to use in your selectors
- At-Rules — define the breakpoint tokens used in responsive styles
- Design Tools — understand the full design workflow