The Condition Builder
The Condition Builder is a visual tool for deciding when content shows, without writing a single expression. You pick the data, choose a comparison, and set a value. Unblock builds the matching {% if … %} for you.
Everything the builder makes is a normal condition expression. You never have to type an operator or a brace, and the visual and code views are completely interchangeable: switch to Code at any time to see or hand-edit the same condition.
Opening the builder
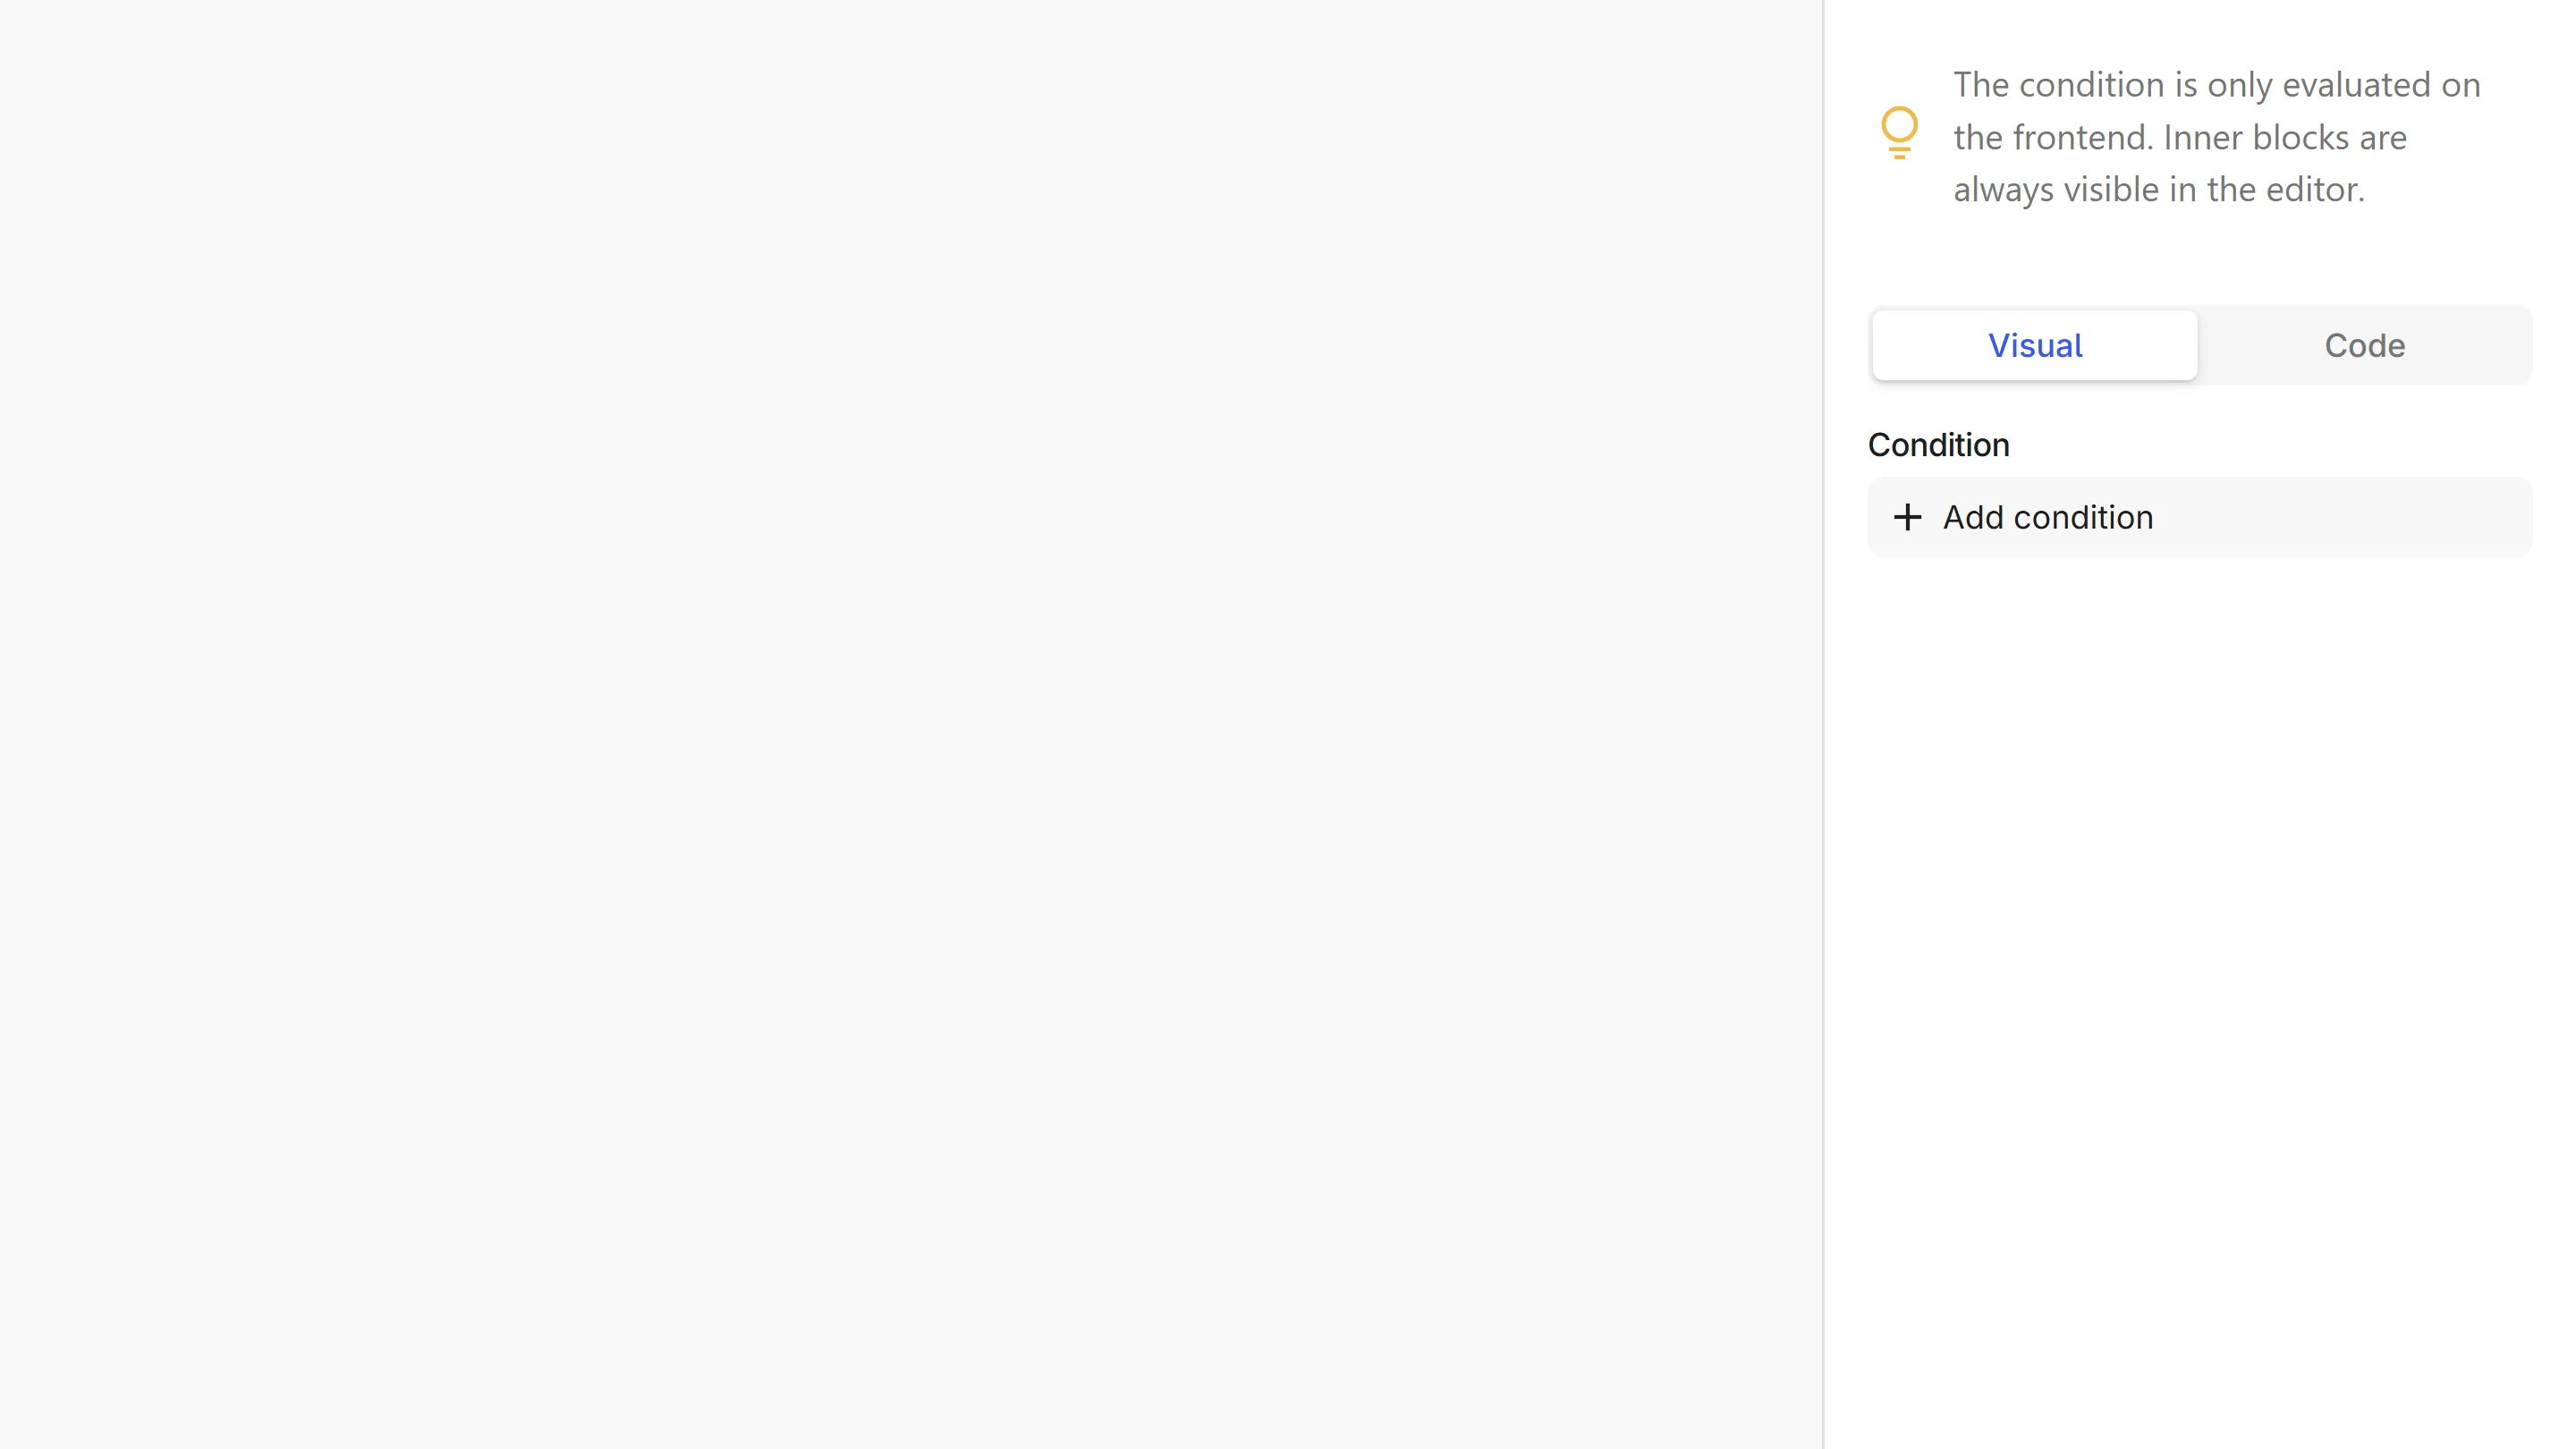
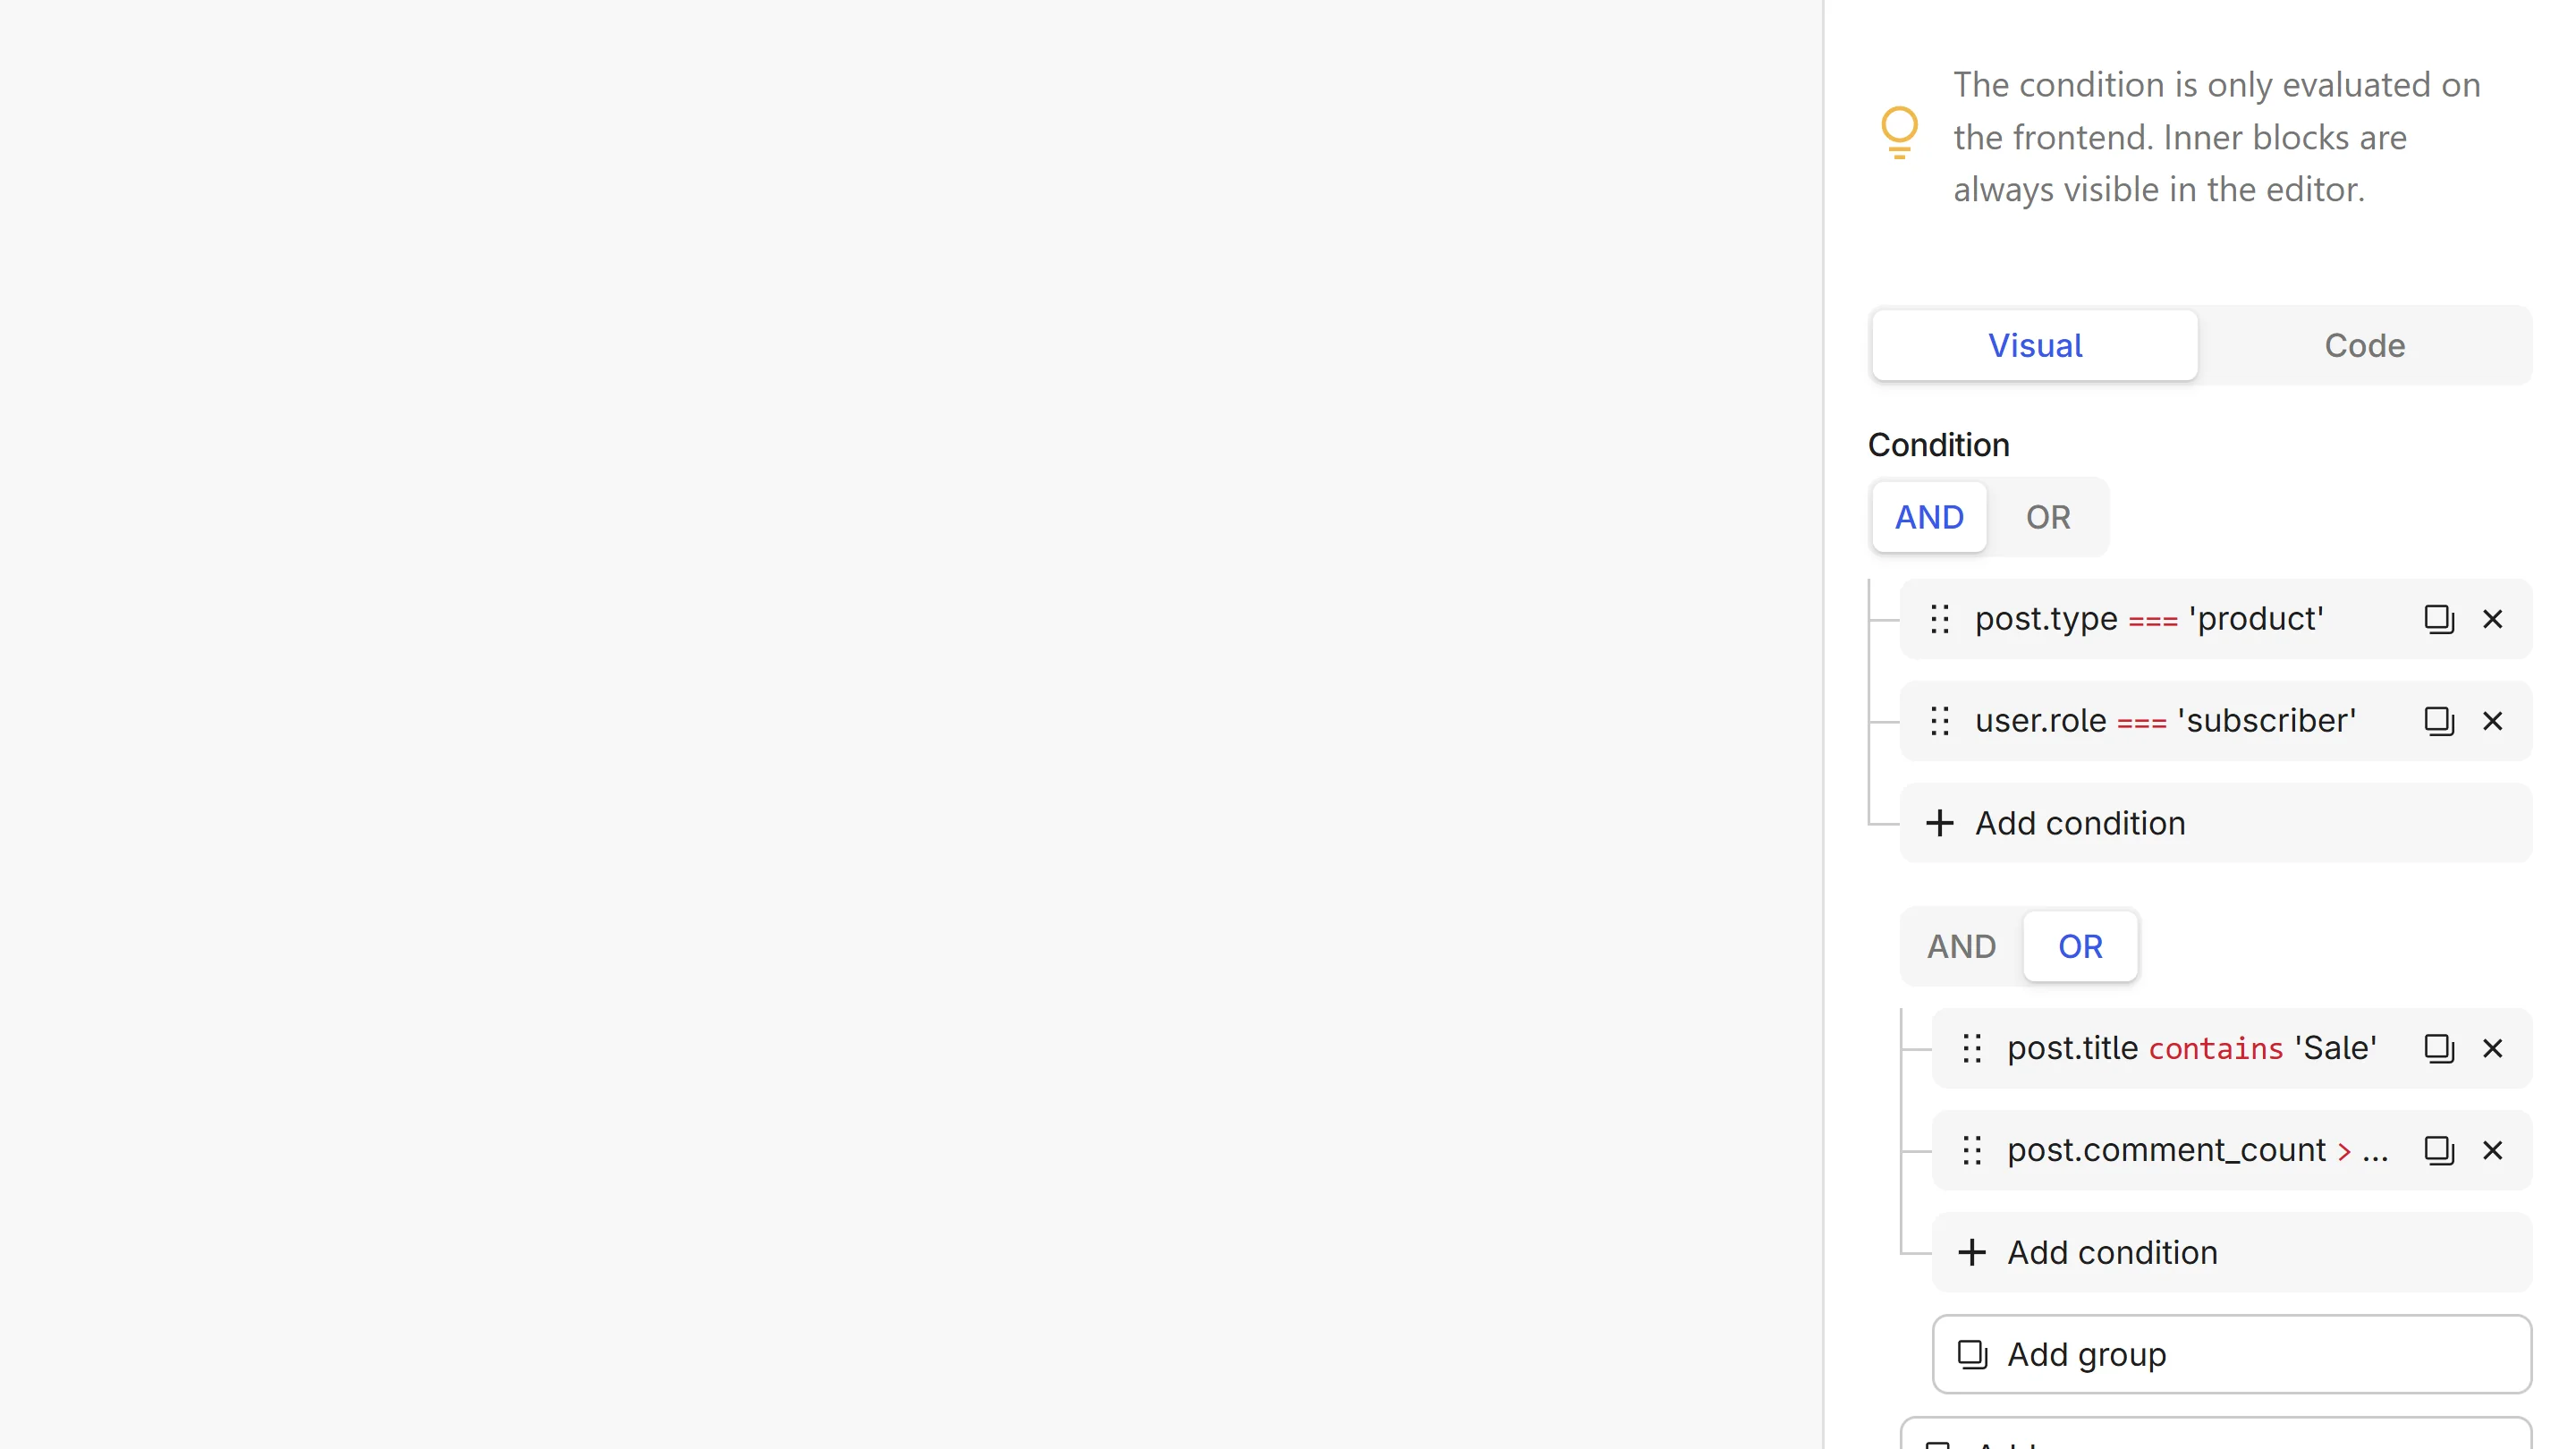
Select a Condition block, then open its Condition panel in the sidebar. At the top, a Visual / Code switch chooses how you edit:
- Visual is the clause-by-clause builder described on this page.
- Code is a Twig editor for writing the condition by hand.
Both edit the same condition, so you can start visually and drop into code whenever you need something the builder doesn't cover.
The condition is only evaluated on the frontend. Your inner blocks always stay visible in the editor so you can build and style them normally.
Anatomy of a condition
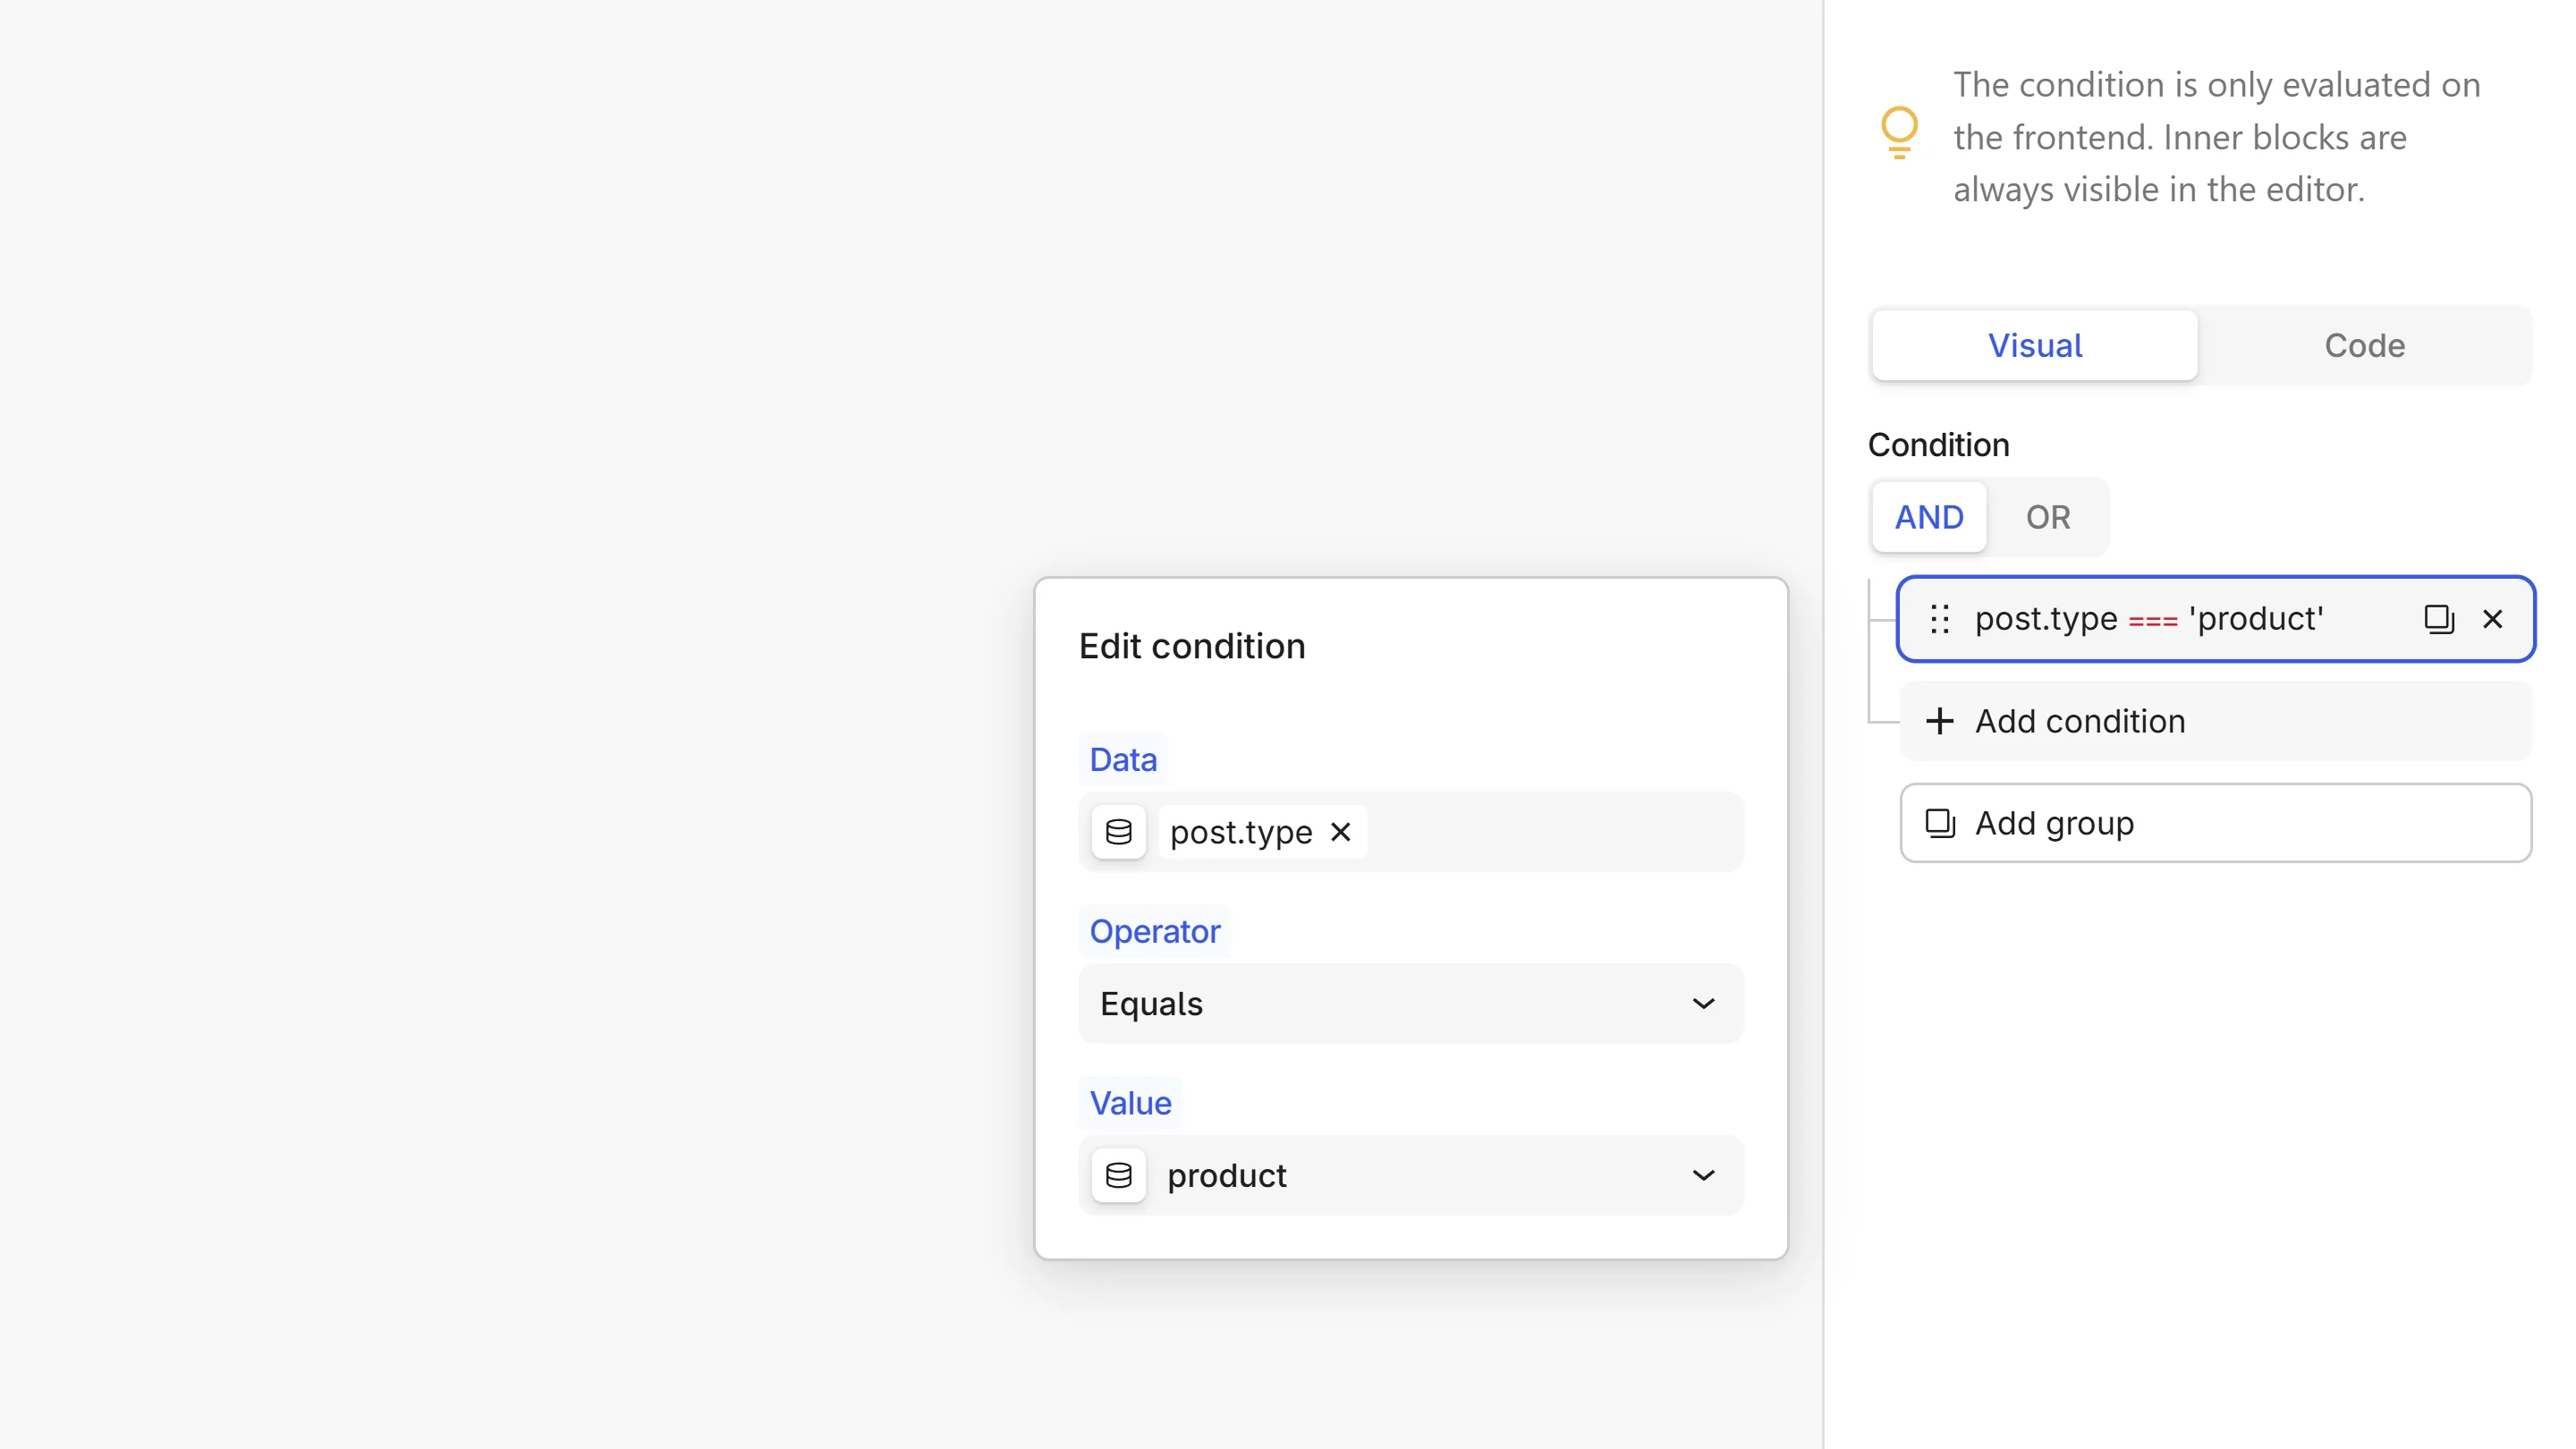
Each row in the builder is one condition made of three parts:
| Part | What it is | Example |
|---|---|---|
| Data | The value to test (left side) | Post Type |
| Operator | How to compare it | Equals |
| Value | What to compare against (right side) | product |
That row reads as "Post Type equals product" and becomes post.type === 'product'.
Build your first condition
- In Visual mode, click Add condition. A new row appears.
- Click the row to open its editor.
- In the Data field, type what you want to test, e.g.
type, and pick Post Type. - Choose an Operator, e.g. Equals.
- In the Value field, pick or type
product. - Close the editor. The row now summarizes your condition.
What you built: Post Type · Equals · product
What runs on the frontend: {% if post.type === 'product' %}
Data or a literal, on either side
Both the Data and Value fields work the same way. Each has an insert data button and a text input, so either side can be:
- A piece of data. Click the insert-data button to open the Data Picker, then search and pick a field. It appears as a chip in the field.
- A literal. Just type a value:
product,42,true, or leave it for an empty check.
This means you can compare data to a literal (Post Type equals product) or data to data (Author is the current User), all without syntax.
Suggested values
When the left side is data, the Value field suggests matching options so you don't have to guess:
- Comparing Post Status suggests
publish,draft,pending, and so on. - Comparing a User field suggests roles or capabilities.
- Comparing Archive Type suggests the archive kinds.
You can pick a suggestion or type your own value at any time. For fields that reference a specific post or user, the value field lets you search and pick one directly.
Choosing the comparison
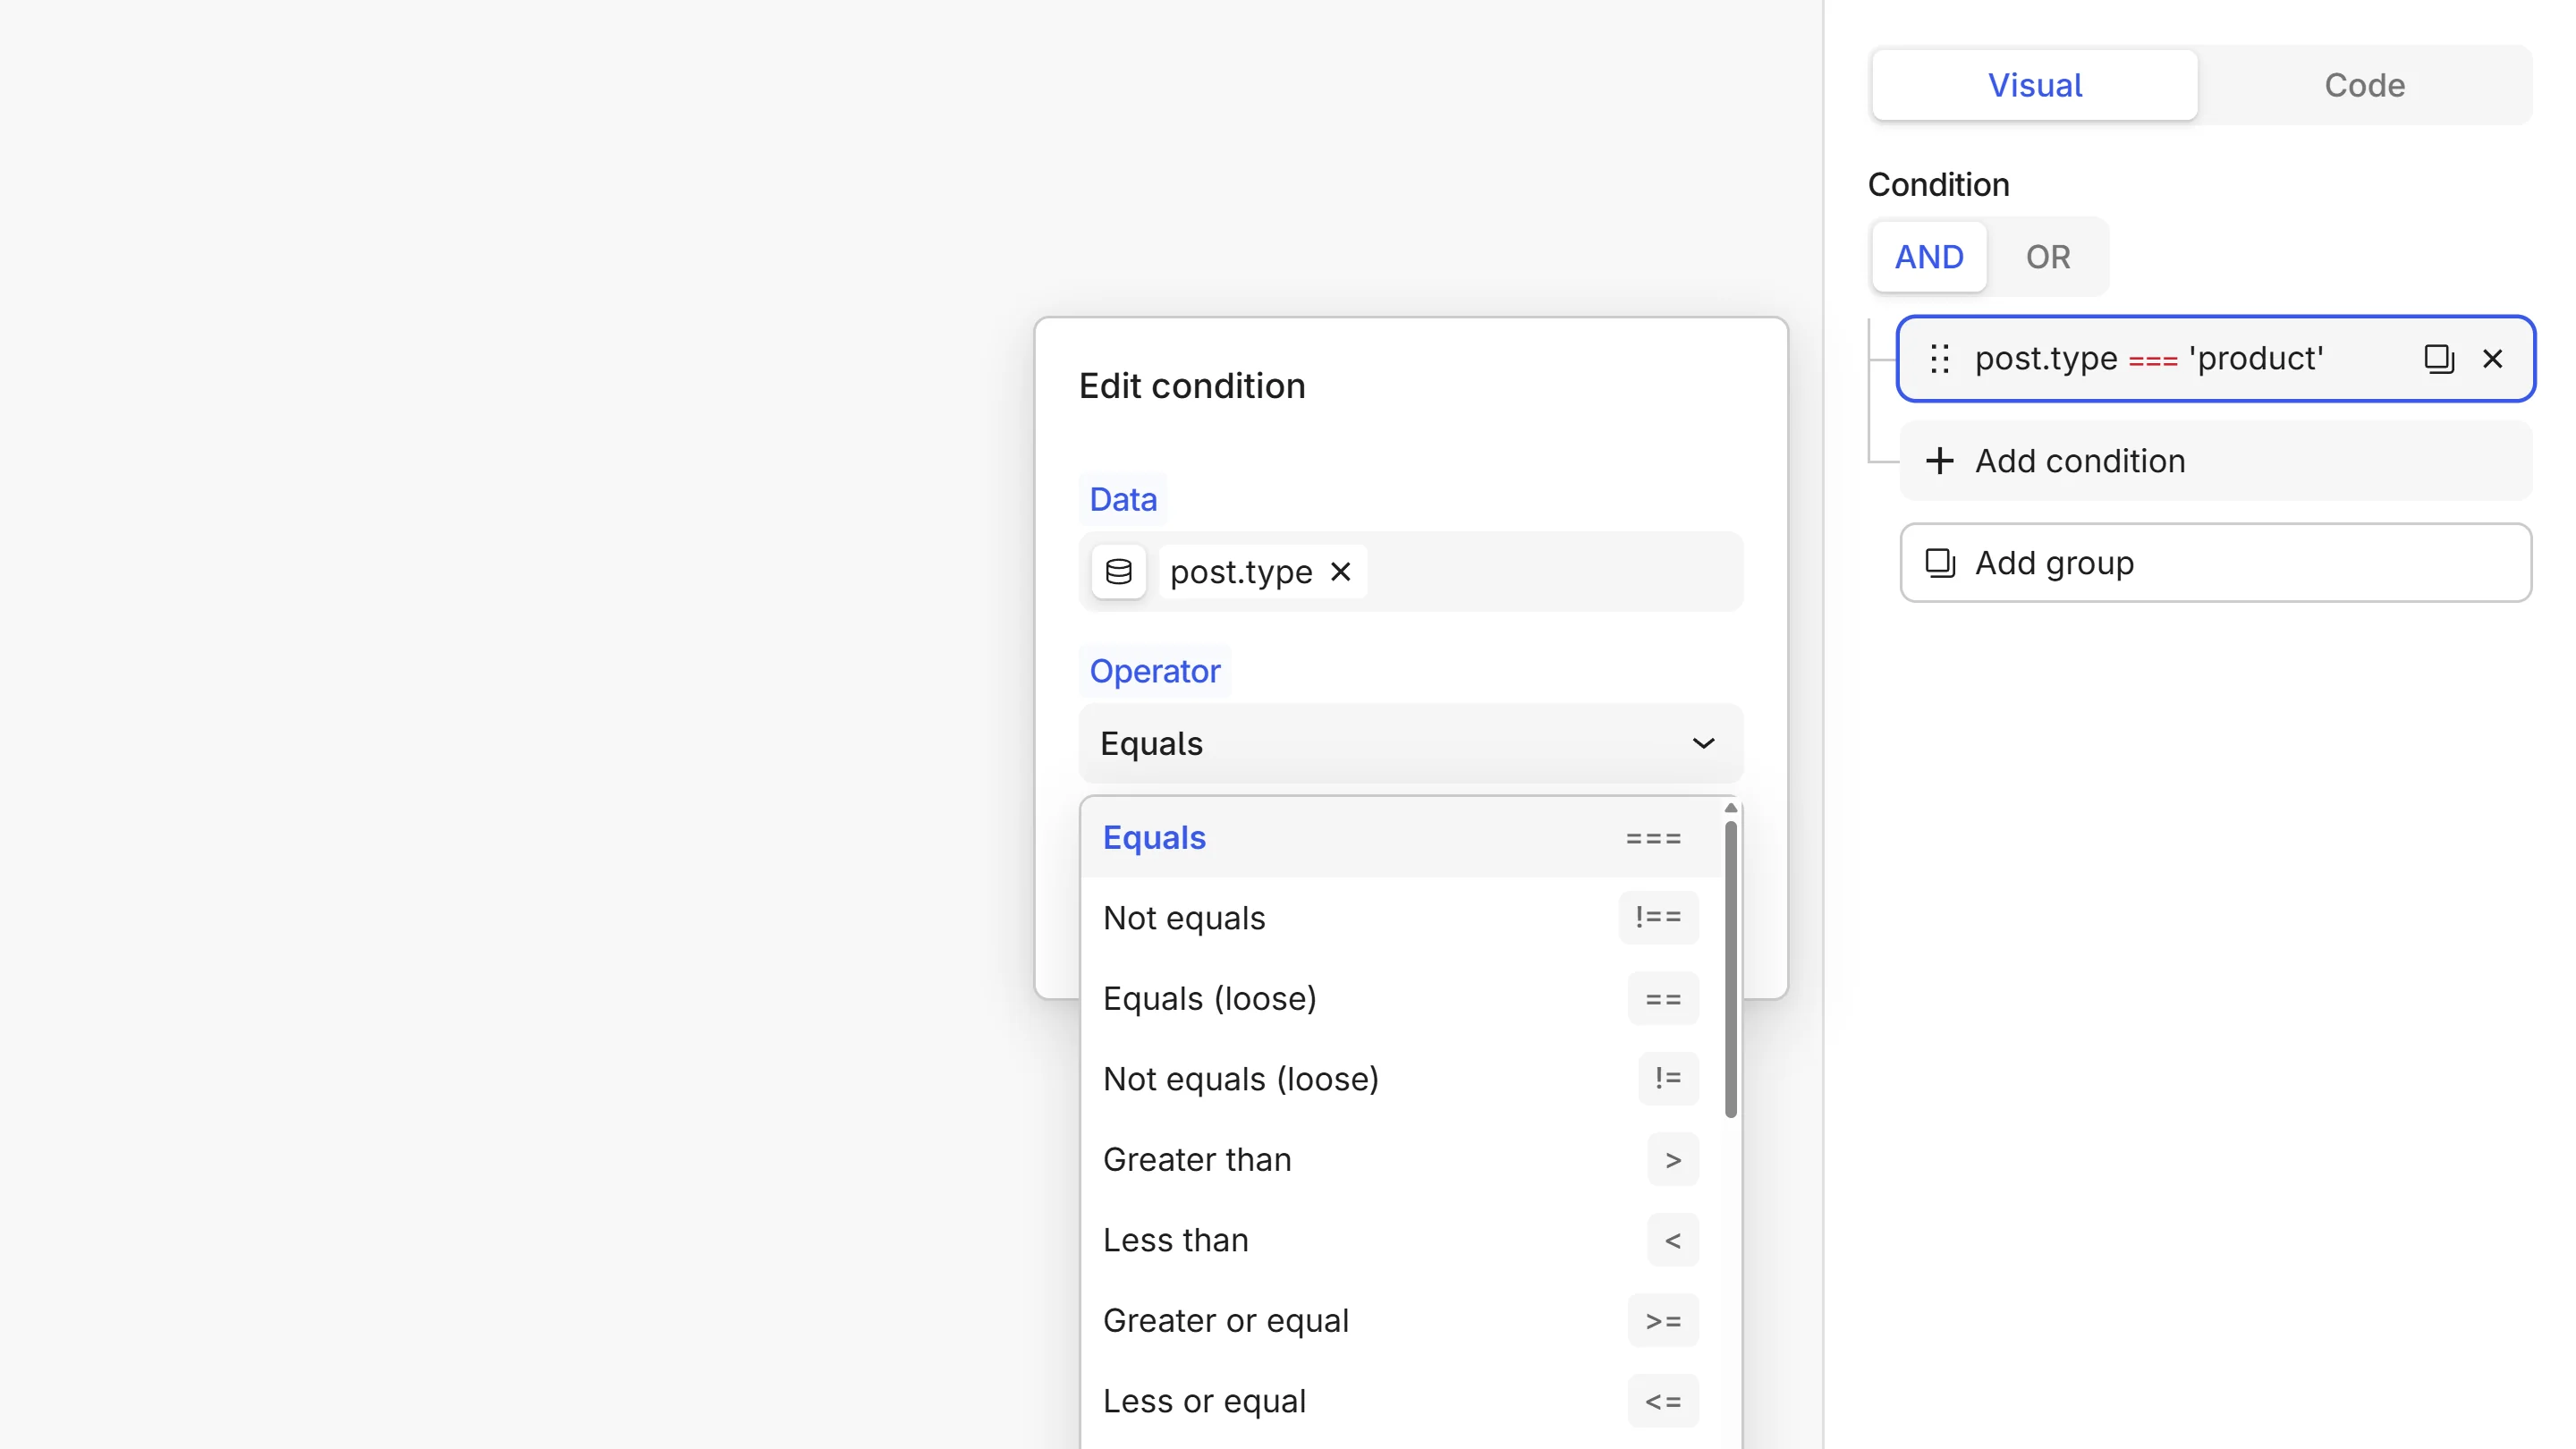
The Operator dropdown covers every comparison, grouped by what it does:
- Equality: Equals, Not equals, and their strict variants.
- Ordering: Greater than, Less than, Greater or equal, Less or equal.
- Existence and type: Is empty, Is defined, Is even, Is odd, and more.
- Text: Starts with, Ends with, Contains.
- Numbers: Divisible by.
See Condition expressions for the full operator reference and what each one means.
Lists: "in" and "not in"
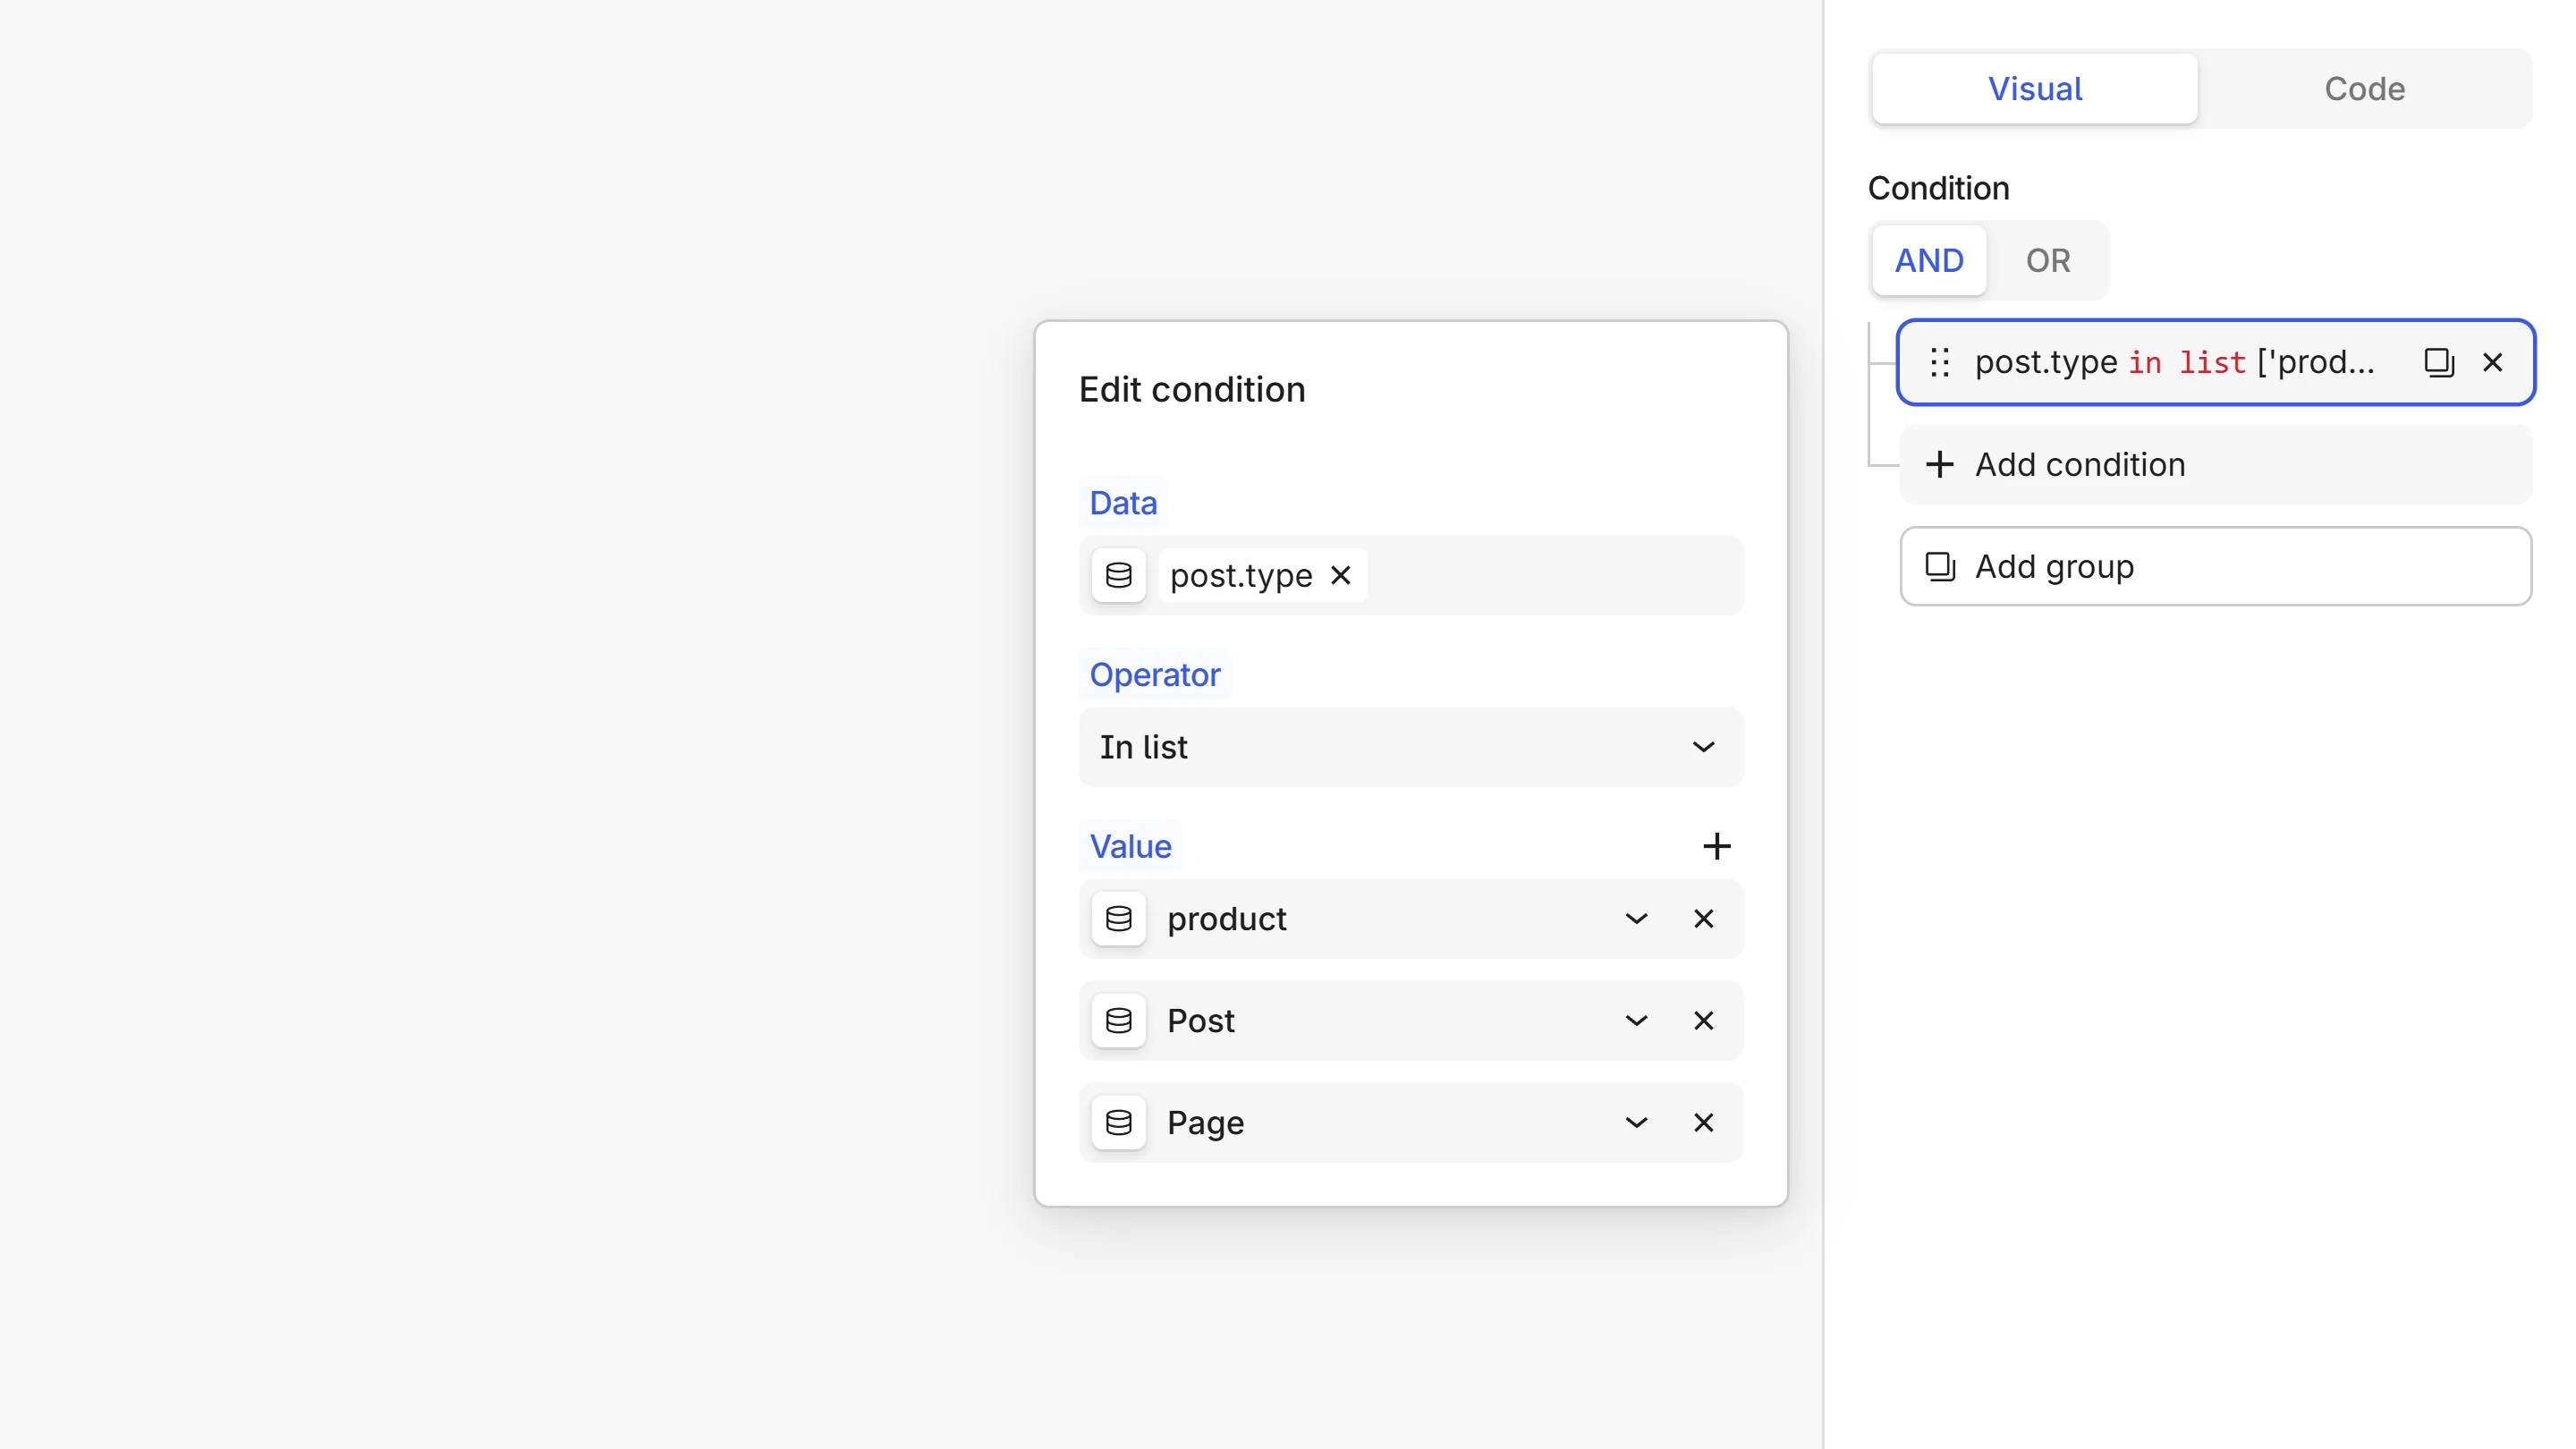
To match against several values, choose In list or Not in list. The Value field turns into a list of rows:
- Choose In list as the operator.
- Click Add value for each entry.
- Each row is its own value, so one can be a literal (
product) and another inserted data.
What you built: Post Type · In list · product, post, page
What runs on the frontend: {% if post.type in ['product', 'post', 'page'] %}
Combine conditions
Real rules often need more than one test.
- Add condition adds another row to the current group.
- Match conditions at the top of a group chooses how its rows combine, AND (all must be true) or OR (at least one).
- Add group nests a sub-group, so you can mix AND and OR, e.g. published and (featured or has a thumbnail).
Groups can nest as deep as your logic needs, exactly like parentheses in a written condition.
Negation (NOT) and exclusive-or (XOR) aren't offered as buttons in the visual builder. Write them in Code mode, then switch back to Visual: the builder shows a NOT tile you can remove, and XOR becomes a selectable match option for that group.
Switch to code anytime
Flip the Visual / Code switch to see the condition as Twig. Anything you build visually round-trips to code and back, so you can:
- Read exactly what the builder produced.
- Hand-edit for something advanced (custom math, filters), then return to Visual to keep going.
Next steps
- Condition overview explains how the Condition block wraps and hides content.
- Condition expressions is the full operator, nesting, and dynamic-data reference.
- Condition patterns collects ready-to-use recipes for common scenarios.
- The Data Picker is the same visual picker used to insert data into a condition.