MCP Bridge
This page shows you how to connect external AI tools — like Claude, ChatGPT, or any MCP-compatible client — to the block editor through the MCP Bridge.
What the MCP Bridge does
The built-in AI chat (Unbot) works directly inside the editor. The MCP Bridge extends that — it lets external AI tools control the same editor, using the same underlying operations.
You start a session in the editor. The external AI connects to that session. It can read your block tree, insert blocks, change styles, update content — anything the built-in AI can do.
Prerequisites
The MCP Bridge requires WordPress 7.0+ (which ships the Abilities API in core) and the WordPress MCP Adapter — the official plugin that exposes abilities as MCP tools:
composer require wordpress/mcp-adapter
Or install it as a plugin from its GitHub releases. Once active, Unblock's abilities are automatically available on the default MCP server — no extra configuration needed.
MCP sessions are reserved to Administrators by default: other roles don't see the session control, and the abilities reject their calls. Developers can open them to other roles with the unblock/ai/mcp/can_use filter.
Start an MCP session
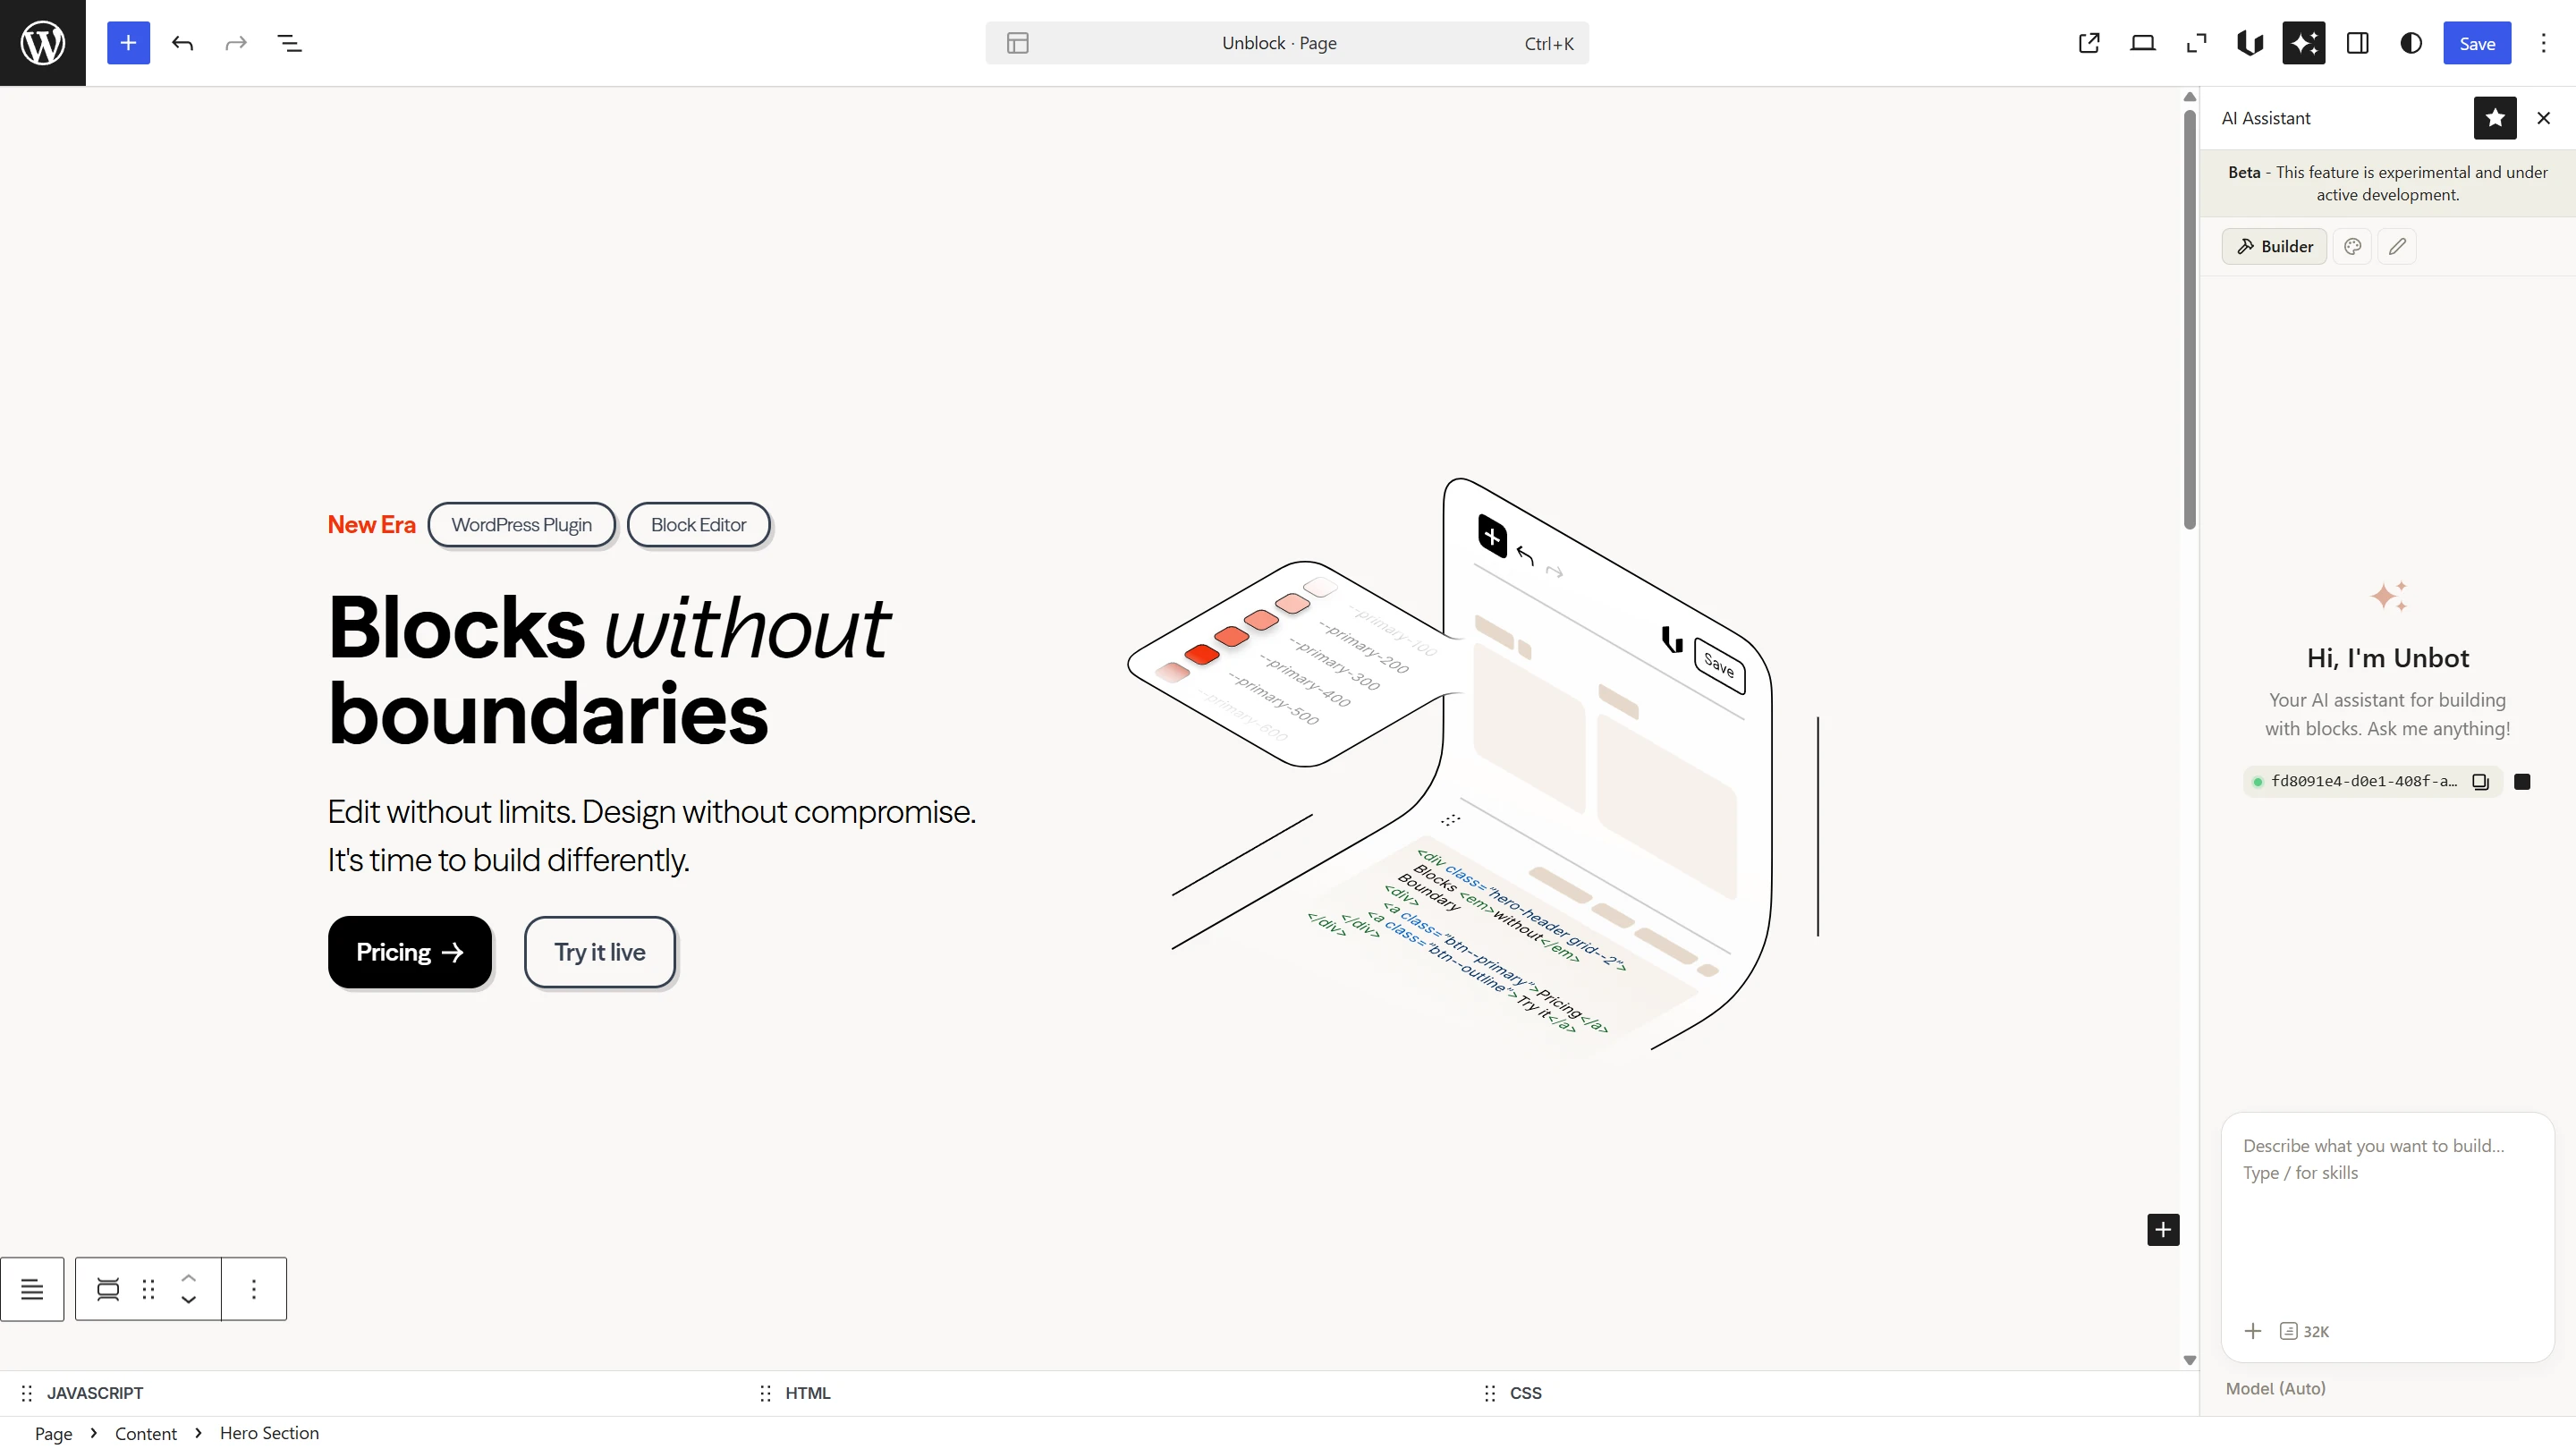
- Open the AI chat panel in the editor
- Click "Or start an MCP session" at the bottom of the empty chat screen
- A session ID appears with a green pulsing dot — the session is live
- Click the copy button next to the session ID
Give the session ID to your external AI tool. It uses this ID to target your specific editor tab.
To stop the session, click the stop button (square icon) next to the session ID. The session also stops automatically when you close or navigate away from the editor tab.
Connect your AI client
Configure your MCP client (Claude Desktop, VS Code, Cursor, etc.) to connect to WordPress. Two transport options are available:
Local sites (STDIO)
For local development environments with WP-CLI access:
{
  "mcpServers": {
    "wordpress": {
      "command": "wp",
      "args": [
        "--path=/path/to/your/wordpress",
        "mcp-adapter",
        "serve",
        "--server=mcp-adapter-default-server",
        "--user=admin"
      ]
    }
  }
}
Replace /path/to/your/wordpress with your WordPress root directory and admin with your WordPress username.
Remote sites (HTTP)
For remote or hosted WordPress sites, use the HTTP proxy:
{
  "mcpServers": {
    "wordpress": {
      "command": "npx",
      "args": [
        "-y",
        "@automattic/mcp-wordpress-remote@latest"
      ],
      "env": {
        "WP_API_URL": "https://your-site.com/wp-json/mcp/mcp-adapter-default-server",
        "WP_API_USERNAME": "your-username",
        "WP_API_PASSWORD": "your-application-password"
      }
    }
  }
}
Create an application password in Users → Profile → Application Passwords in your WordPress admin.
Combine with other MCP servers
MCP clients can connect to multiple servers at once. This means you can give your AI tool access to WordPress and other tools in the same session.
Example: Figma + Unblock
The official Figma MCP server gives AI tools access to your designs — layout structure, colors, typography, spacing, variables, and screenshots. It returns design data, not HTML or CSS. The AI translates that data into Unblock blocks and styles.
Figma plan requirements
The Figma MCP server is rate-limited per plan and seat type. In practice it's usable from:
- Professional plan with a Dev or Full seat — 200 calls/day
- Organization or Enterprise with a Dev or Full seat — 600 calls/day
Starter (free) plans and View/Collab seats are capped at 6 calls per month — enough to test, not enough for real work. If you're on Starter, the open-source Framelink Figma MCP is a fallback that uses the public REST API with a personal access token (same rate limits but fewer prerequisites; doesn't expose design tokens / variables since the Variables REST API is Enterprise-only).
Connect both servers in your MCP client config
{
  "mcpServers": {
    "wordpress": {
      "command": "wp",
      "args": [
        "--path=/path/to/your/wordpress",
        "mcp-adapter",
        "serve",
        "--server=mcp-adapter-default-server",
        "--user=admin"
      ]
    },
    "figma": {
      "url": "https://mcp.figma.com/mcp"
    }
  }
}
With both servers connected, the AI sees tools from Figma (read designs, extract variables) and from Unblock (insert blocks, create styles). You don't need to tell it which tools to use — it figures that out.
Before prompting, do the prerequisite setup:
-
Start an MCP session in the editor (see Start an MCP session above).
-
Tell the AI about the session. Two options:
Option A — explicit (most reliable): copy the session ID from the editor and paste it in your first message:
"My Unblock editor session ID is
abc-123-def-456. Use it for all Unblock tool calls."Option B — auto-discover (no copy/paste): let the AI find the session itself via
unblock/list-sessions:"Find my active Unblock session, then..."
Option B is shorter but can pick the wrong session if you have multiple editor tabs open. Option A is safer when you're working on several pages at once.
Then send your task prompt:
"Get the hero section from this Figma file: https://www.figma.com/design/abc123. Read its layout, colors, and typography, and build it in the WordPress editor using the Unblock tools."
The AI calls Figma's get_design_context to read the design, then uses unblock/get-instructions to learn Unblock's conventions, and builds the section with unblock/insert-blocks and unblock/update-styles.
Available tools
Once connected, the external AI has access to these operations through the WordPress Abilities API:
| Tool | What it does |
|---|---|
unblock/list-sessions | List all active editor sessions |
unblock/get-instructions | Get Unblock conventions and CSS guidelines |
unblock/get-context | Read the current block tree, CSS variables, breakpoints, fonts |
unblock/insert-blocks | Add new blocks from HTML markup |
unblock/replace-blocks | Replace a block's inner content |
unblock/update-attributes | Change HTML attributes or tag name on a block |
unblock/update-content | Update text content or Twig expressions |
unblock/update-script | Add, update, or remove block JavaScript |
unblock/update-styles | Write the site CSS: selector rules, variables, at-rules |
unblock/move-blocks | Reorder blocks |
unblock/remove-blocks | Delete blocks |
All tools except list-sessions and get-instructions require a session_id parameter.
update-styles writes a rule the way you would in a stylesheet: the declarations you send become the declarations of that selector, and the at-rule blocks you leave out are kept untouched. Read the current CSS with get-context first, then send the complete rule. It answers with the CSS of the selectors it wrote, so you can check the result instead of assuming it.
Call get-instructions once at the start of a session. It returns Unblock's CSS naming conventions, HTML structure patterns, and tool usage rules — the same guidelines the built-in AI follows.
The session ID is tied to a single browser tab. If you reload the page or navigate away, the session ends and the ID becomes invalid. Start a new session after reloading.
How it works
The MCP Bridge uses the WordPress Abilities API to expose tools that external AI clients can discover and call. The connection flows entirely through your WordPress site — no external servers involved.
External AI tool
    ↓  calls ability (e.g. unblock/insert-blocks)
WordPress REST API
    ↓  writes command to database
SSE stream (browser)
    ↓  picks up command, executes in editor
Browser POSTs result back
    ↓
WordPress returns result to AI tool
The browser keeps an open SSE (Server-Sent Events) connection to unblock/v1/mcp/stream. Commands flow through the wp_options table as a lightweight IPC mechanism — no WebSocket server, no external dependencies.
Session lifecycle
- Heartbeat: The SSE stream sends a keepalive every 20 seconds. Sessions without a heartbeat for 120 seconds are marked stale and filtered out of
list-sessions. - Reconnect: If the SSE connection drops (network hiccup, server restart), the bridge reconnects automatically after 2 seconds.
- Cleanup: Closing the editor tab deregisters the session via
beforeunload. If the browser crashes, the stale timeout handles cleanup.
Next steps
- AI Assistant Overview — learn the built-in chat features
- Agents — how Builder, Designer, and Writer agents work
- Skills — extra capabilities for the built-in AI