Build a hero header
This page walks you through building a hero header to learn how Unblock works.
What you'll build
A full-width hero section with a heading, subtitle, and a call-to-action button — the kind of header you see at the top of most landing pages.
Step 1: Create the section
- Open the WordPress editor on any page
- Click + to open the block inserter — Unblock blocks are in the Unblock category at the top
- Add a Section block — this creates a full-width
<section>with a container<div>inside
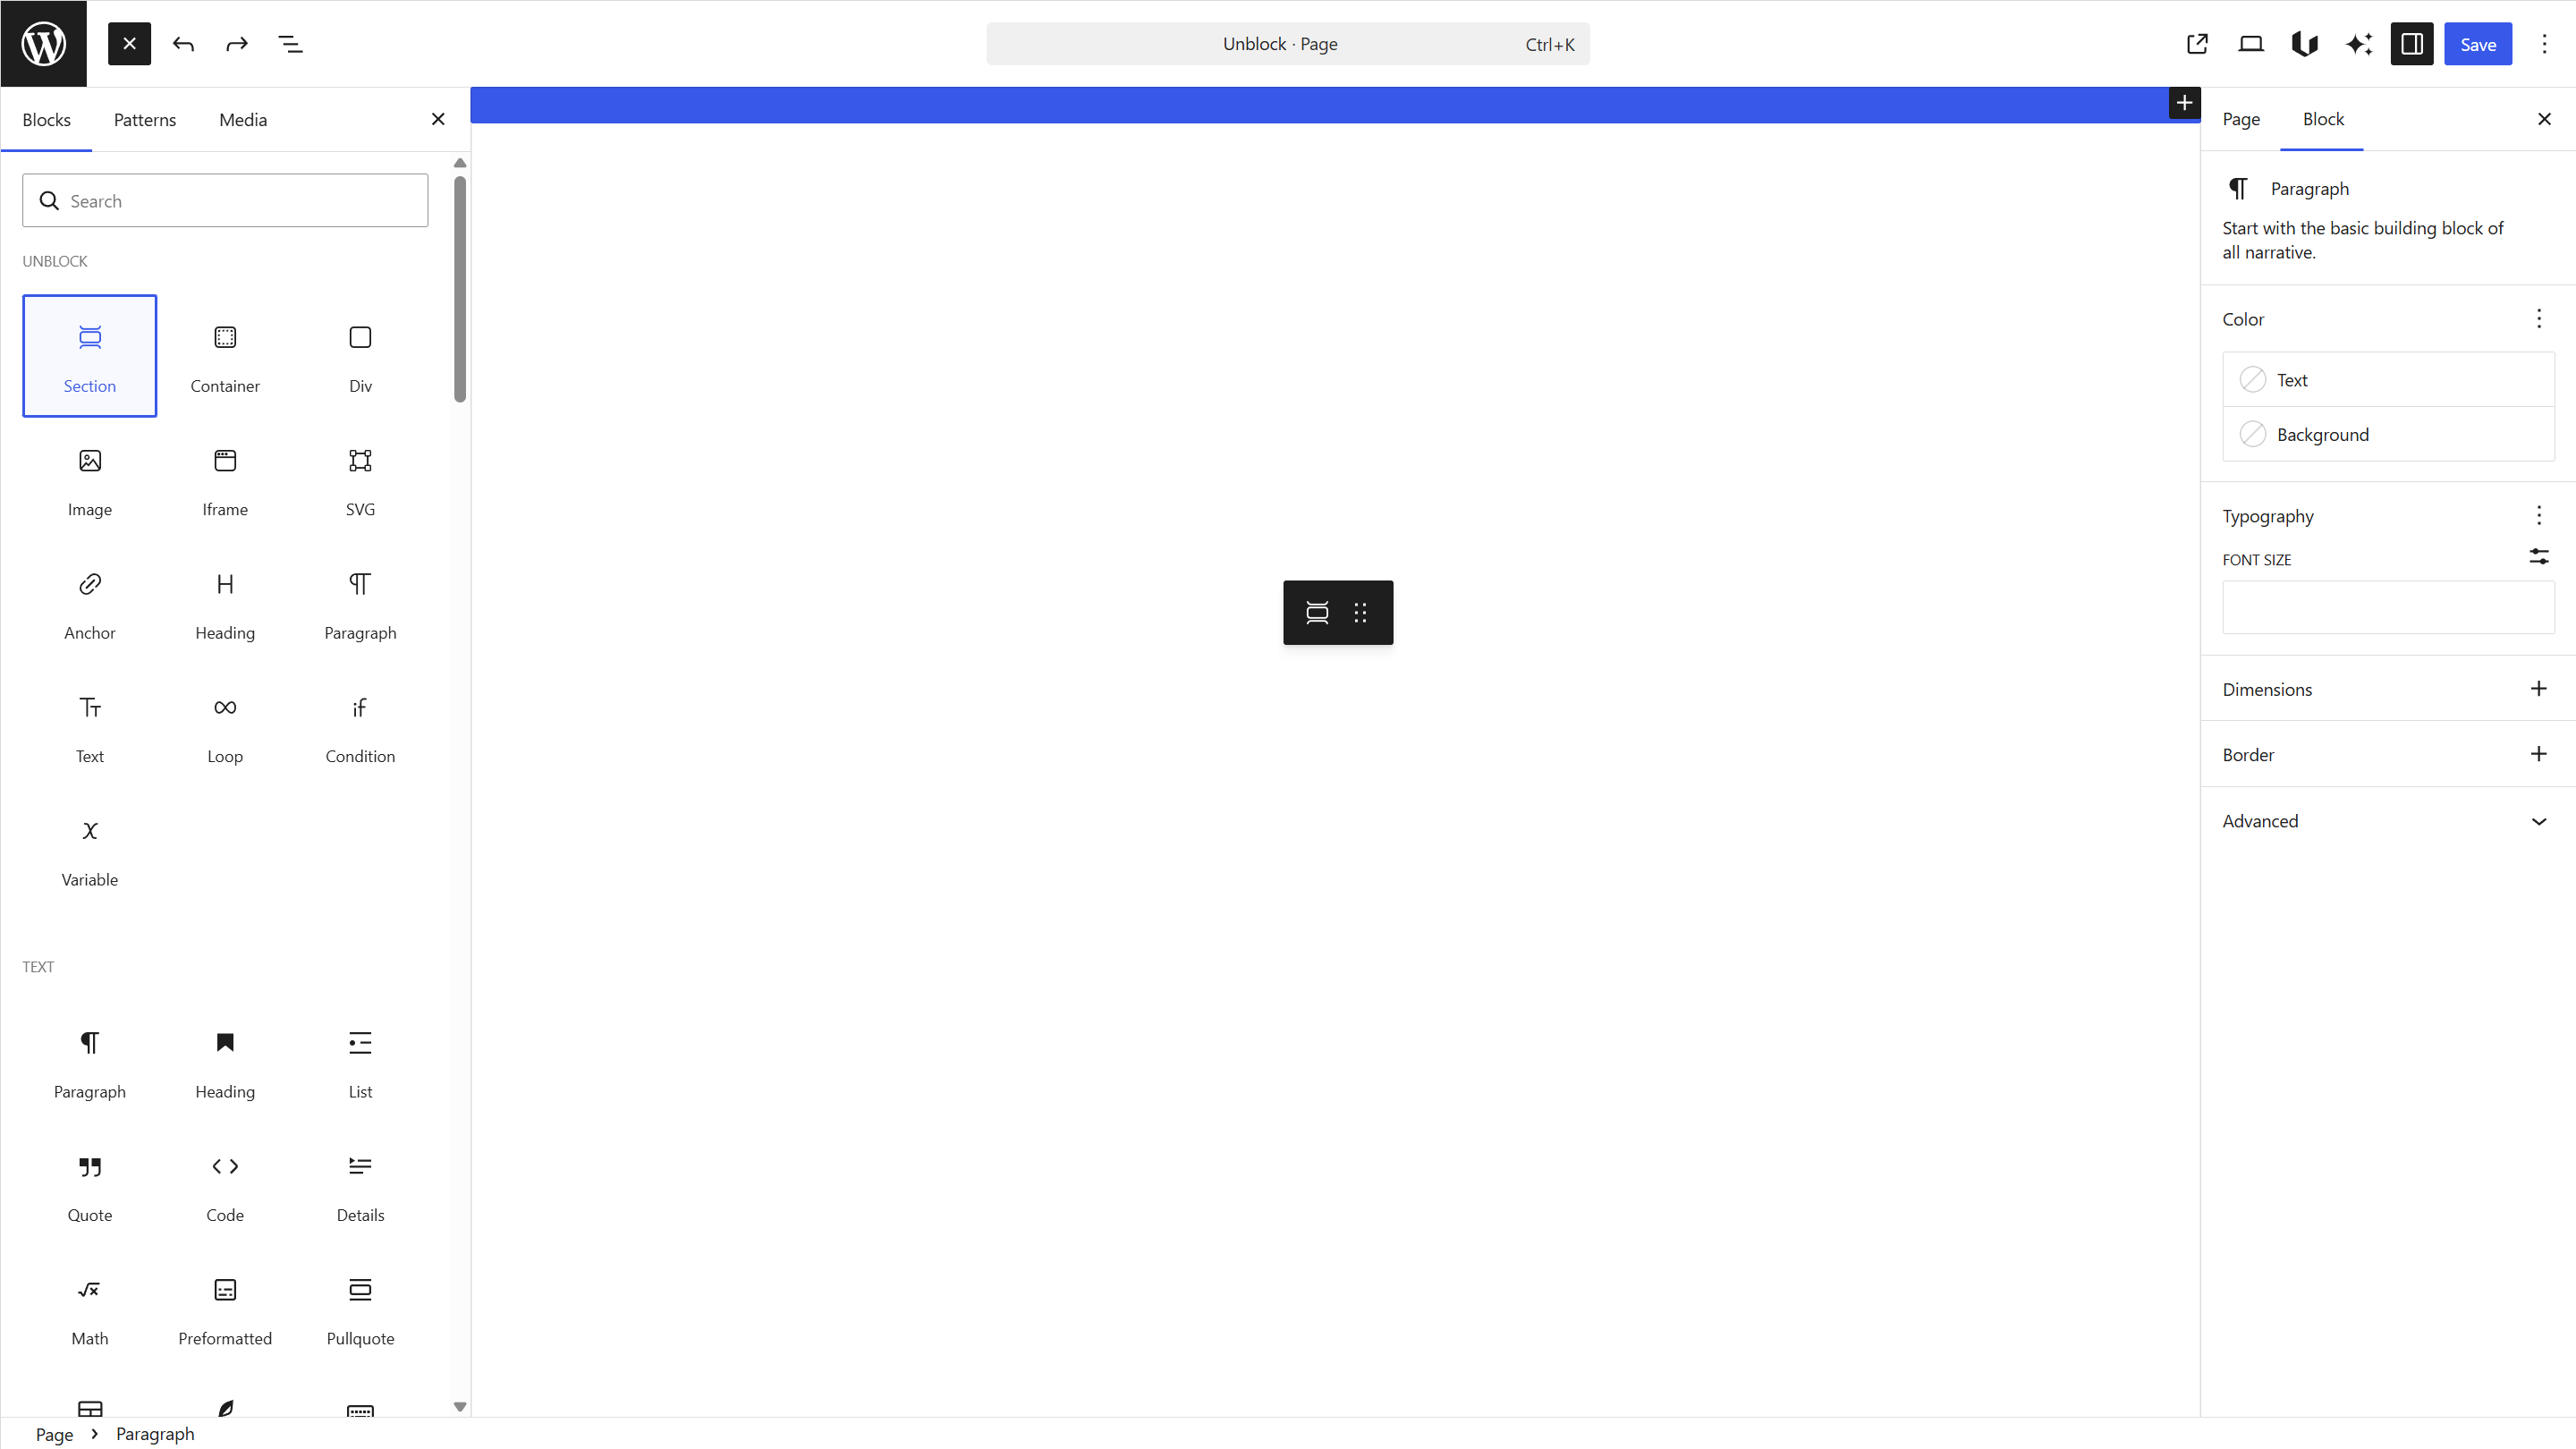
The Section block gives you a full-width background area. The container inside keeps your content centered and constrained.
Step 2: Add the content
Inside the container:
- Add a Heading block — type your hero title (e.g.
Build websites without limits) - Add a Paragraph block — type your subtitle (e.g.
Full control over every block, every element, every style.) - Add an Anchor block — this is your button. Type the label (e.g.
Get started) and set thehrefattribute to your target URL
Your list view should look like this:
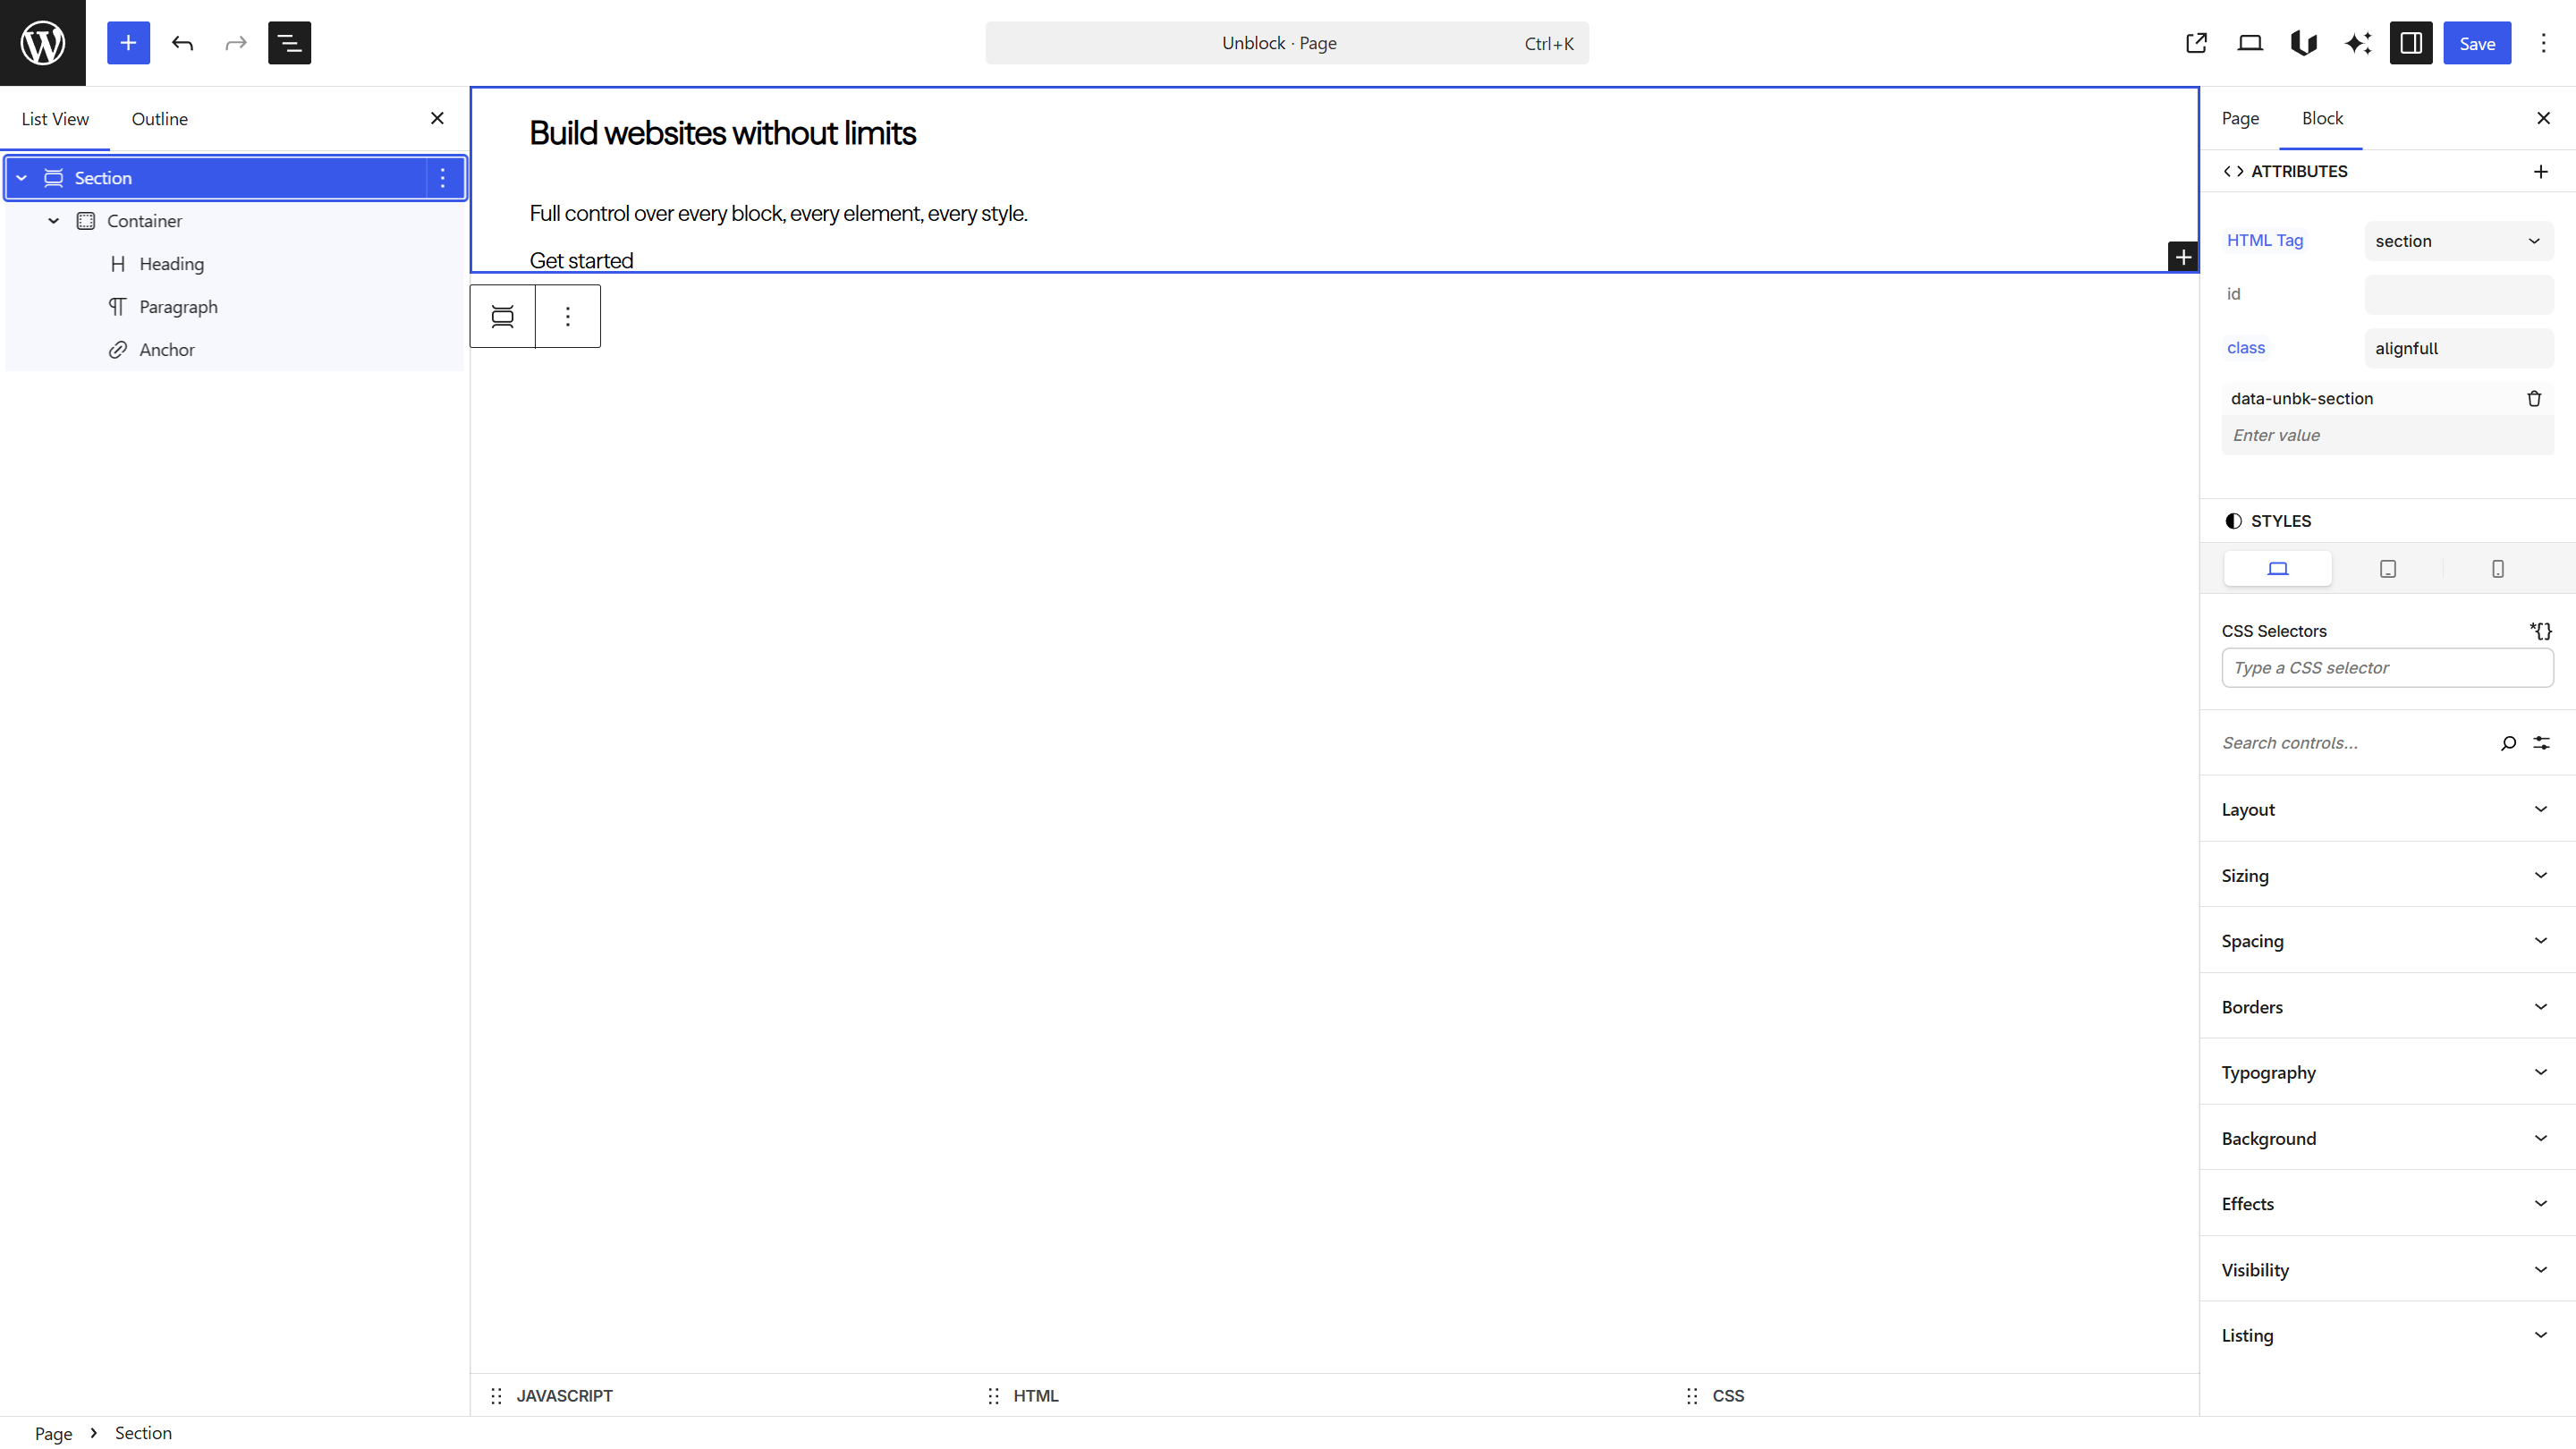
Each block maps 1:1 to an HTML element. The Heading is an <h1>, the Paragraph is a <p>, the Anchor is an <a>.
Step 3: Style with the Styles panel
Select the Section block. In the Styles panel (right sidebar), you can set:
- Background — a color, gradient, or image
- Spacing — padding to give the hero breathing room (e.g.
6remtop and bottom) - Typography — text color, alignment
Select the Anchor block and style it as a button:
- Spacing — padding (e.g.
0.75rem 1.5rem) - Background — a solid color
- Typography — font weight, color
- Borders — border-radius for rounded corners
Every property you set in the Styles panel is real CSS — no abstraction.
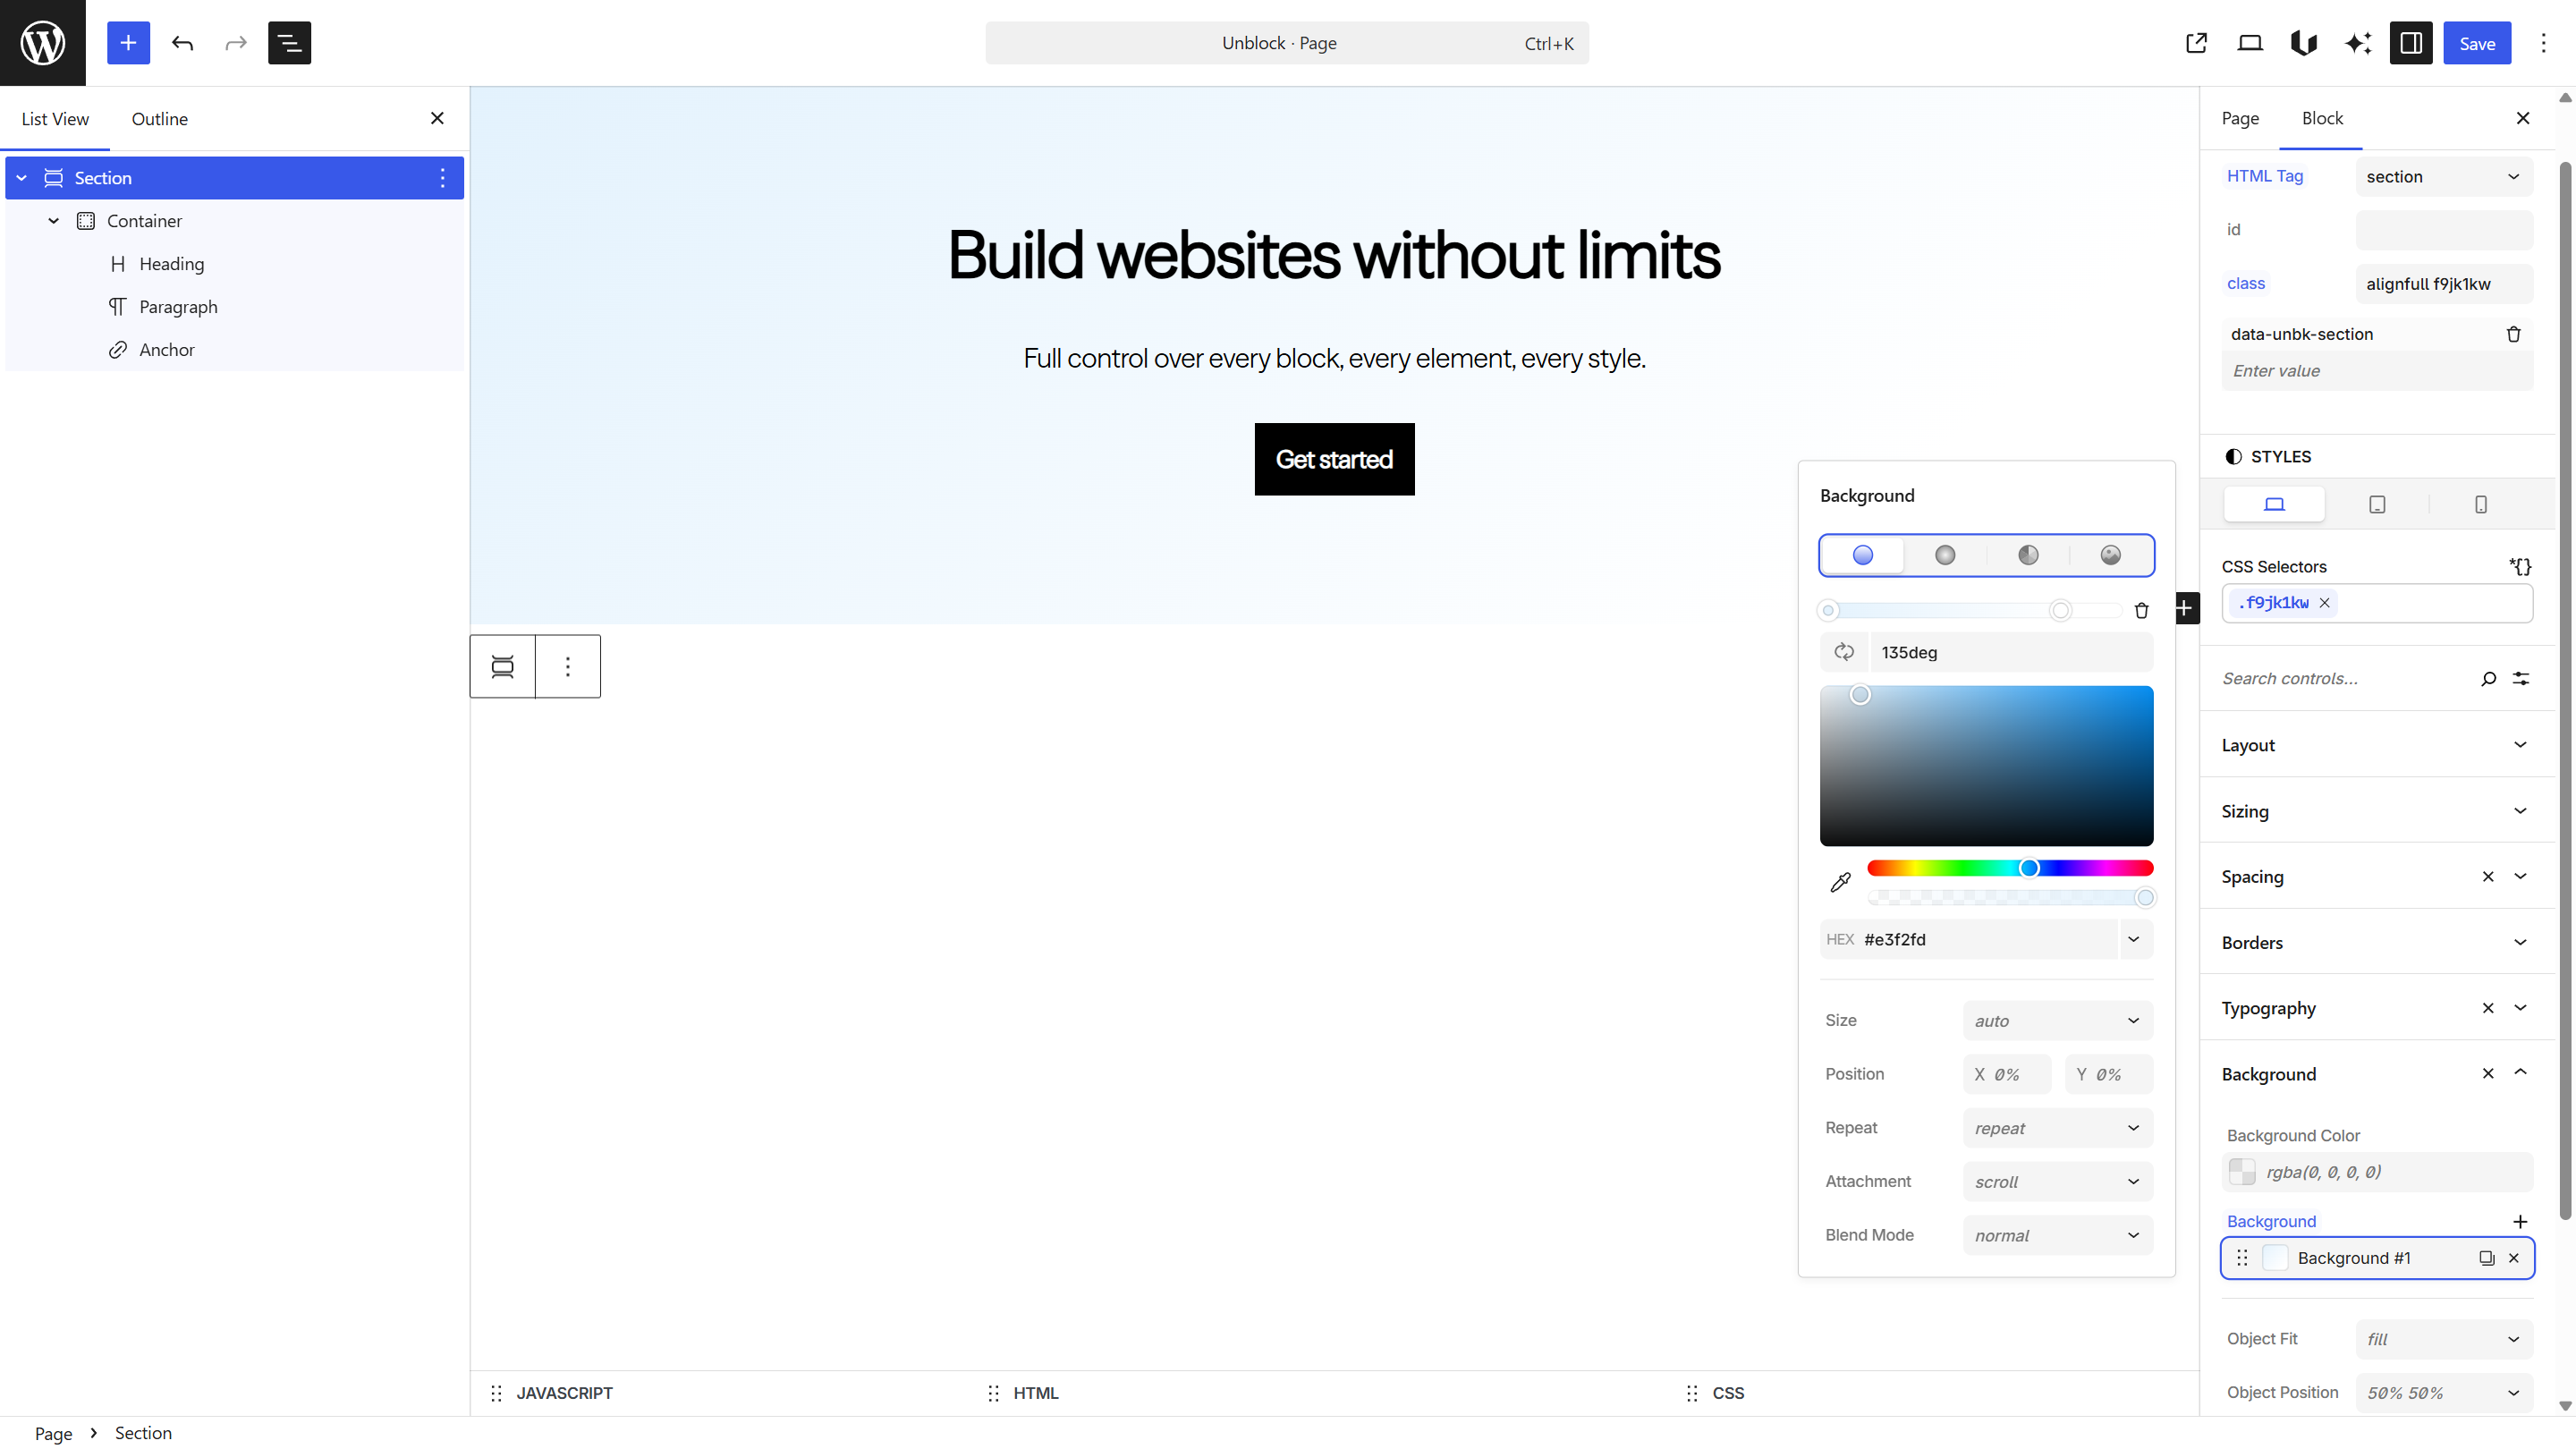
The Styles panel and CSS inspector are two-way synced — edits in one are reflected in the other.
Step 4: Name your selectors
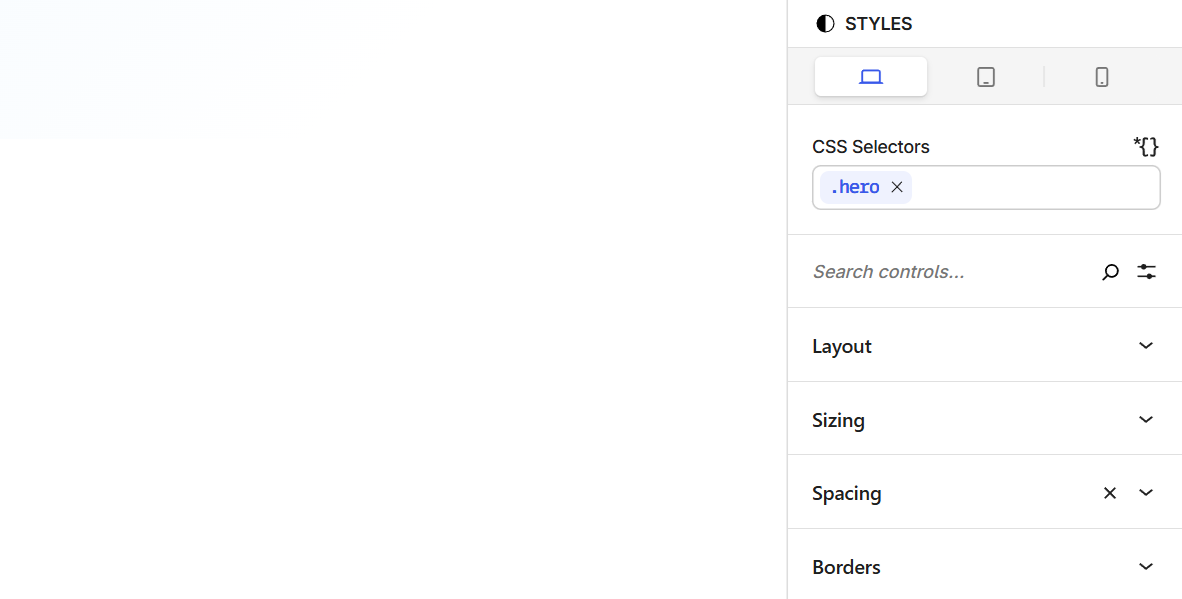
Unblock automatically generates a CSS selector for each block. To keep your CSS readable, rename them with meaningful names:
- Select the Section block and under CSS Selectors, rename the selector to
.hero - Do the same for each child block:
- Container →
.hero__container - Heading →
.hero__heading - Paragraph →
.hero__subtitle - Anchor →
.hero__btn
- Container →
- The styles you set are now tied to these selectors — reuse them on any block across your site
Unblock automatically generates a CSS selector when no existing one matches. You can always rename selectors later — your styles will follow automatically.
Step 5: Inspect the output
Open the HTML or CSS inspector at the bottom of the editor to see the generated markup and styles.
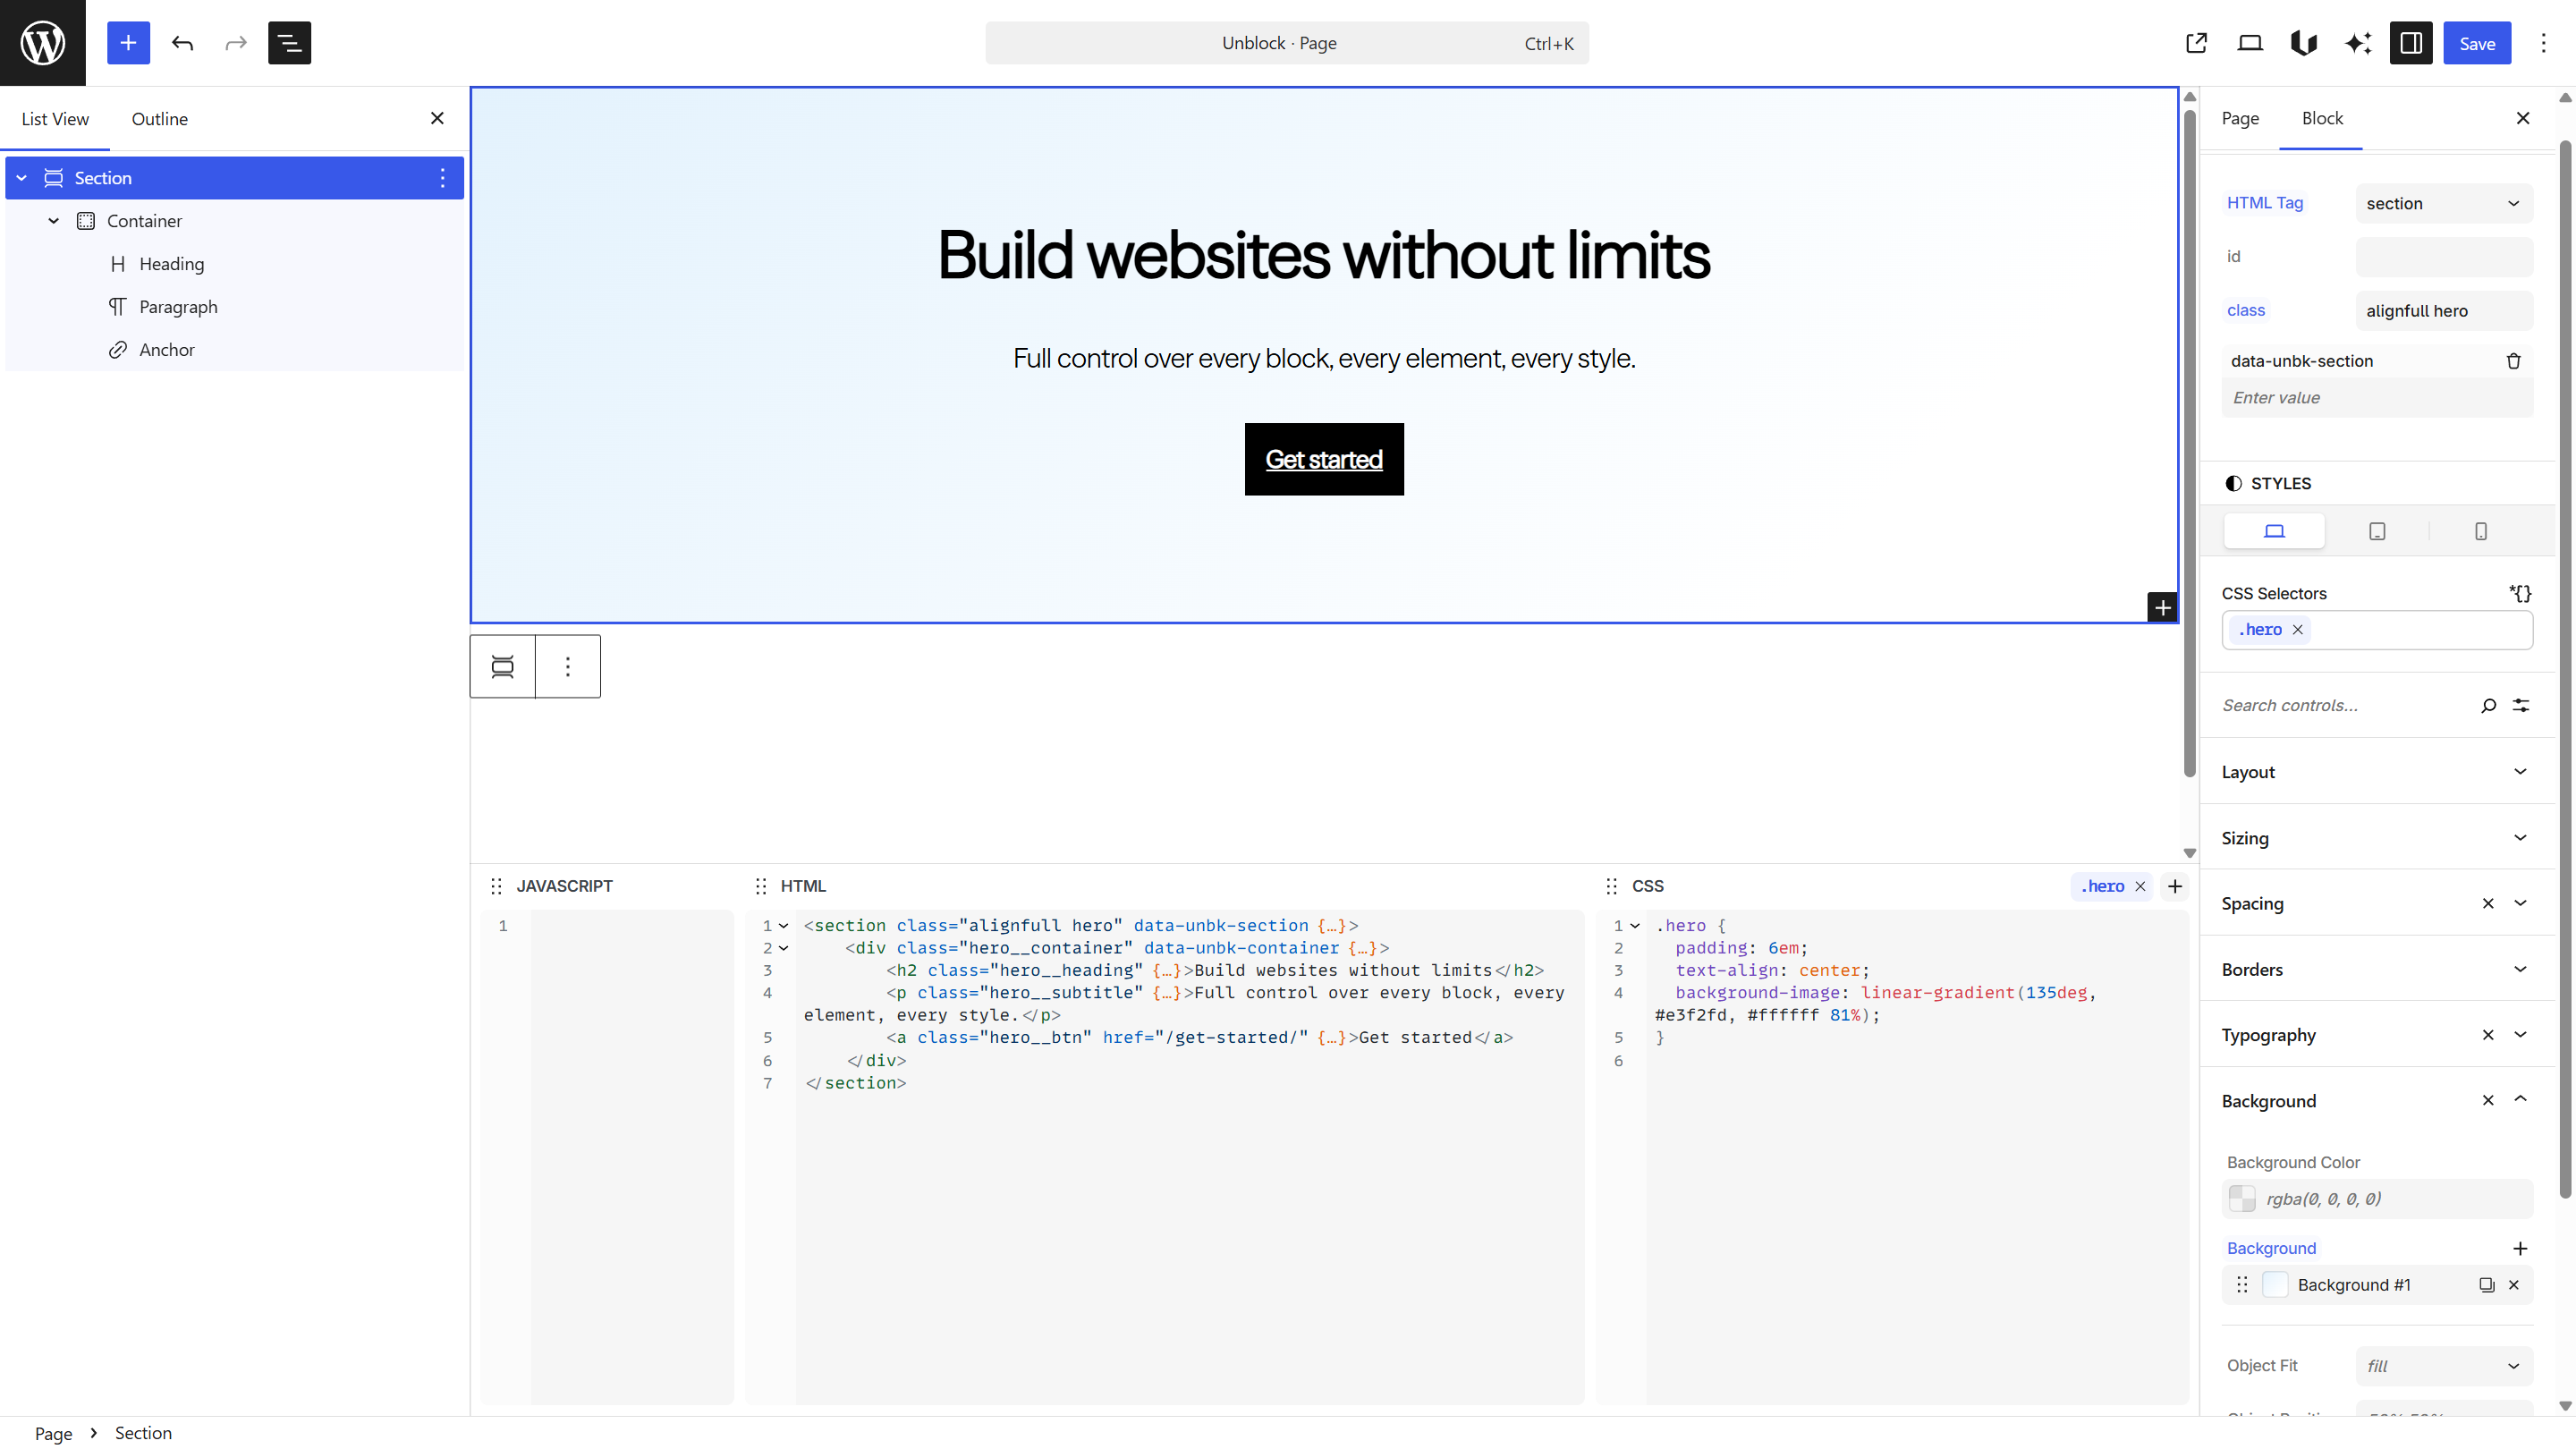
Your hero produces clean, semantic markup — no extra wrappers, no generated class names:
<section class="alignfull hero" data-unbk-section>
  <div class="hero__container" data-unbk-container>
    <h1 class="hero__heading">Build websites without limits</h1>
    <p class="hero__subtitle">Full control over every block, every element, every style.</p>
    <a class="hero__btn" href="/get-started/">Get started</a>
  </div>
</section>
Next steps
- Blocks overview — see every available block
- Dynamic data — make content dynamic with expressions
- Design Tools — selectors, variables, and at-rules